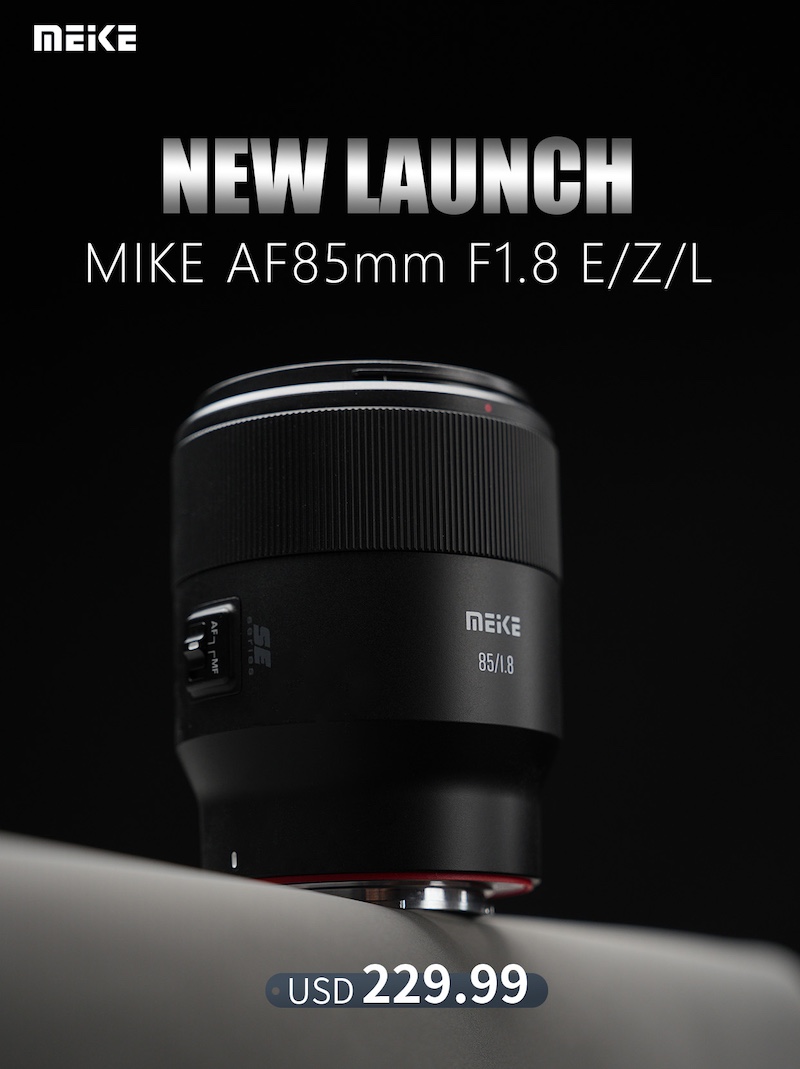
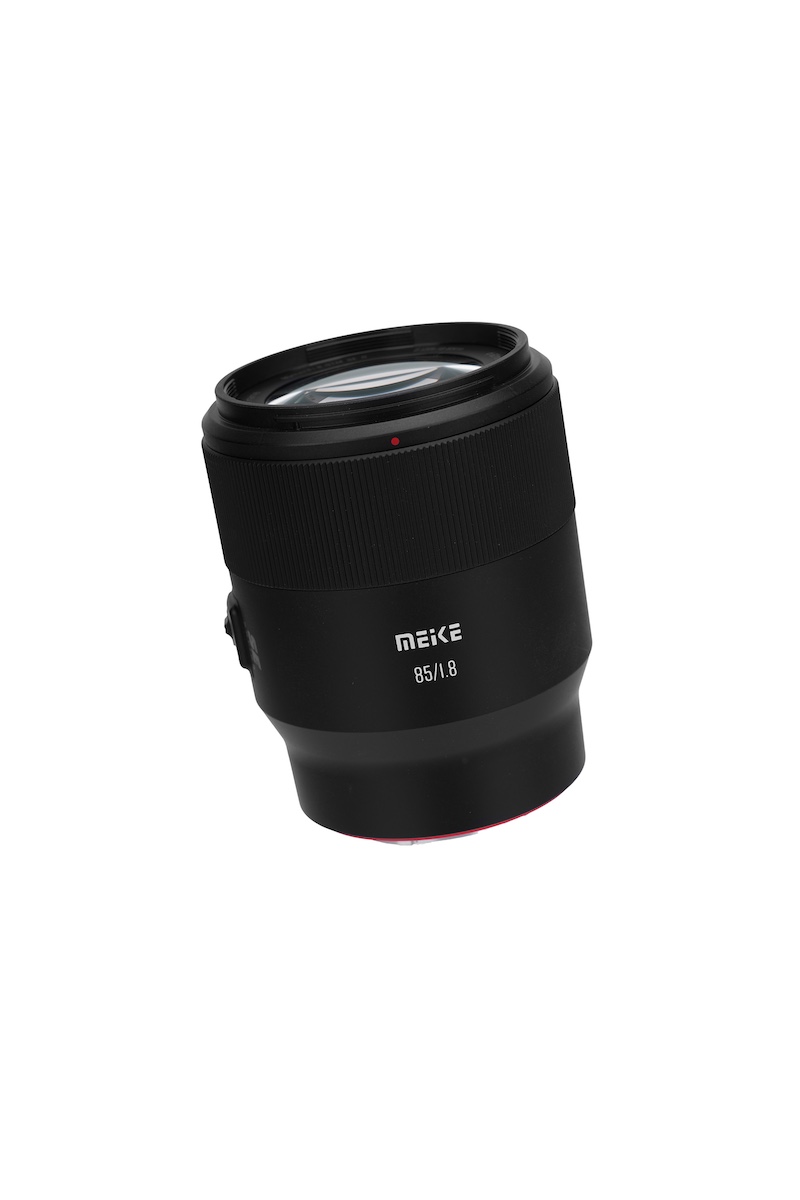
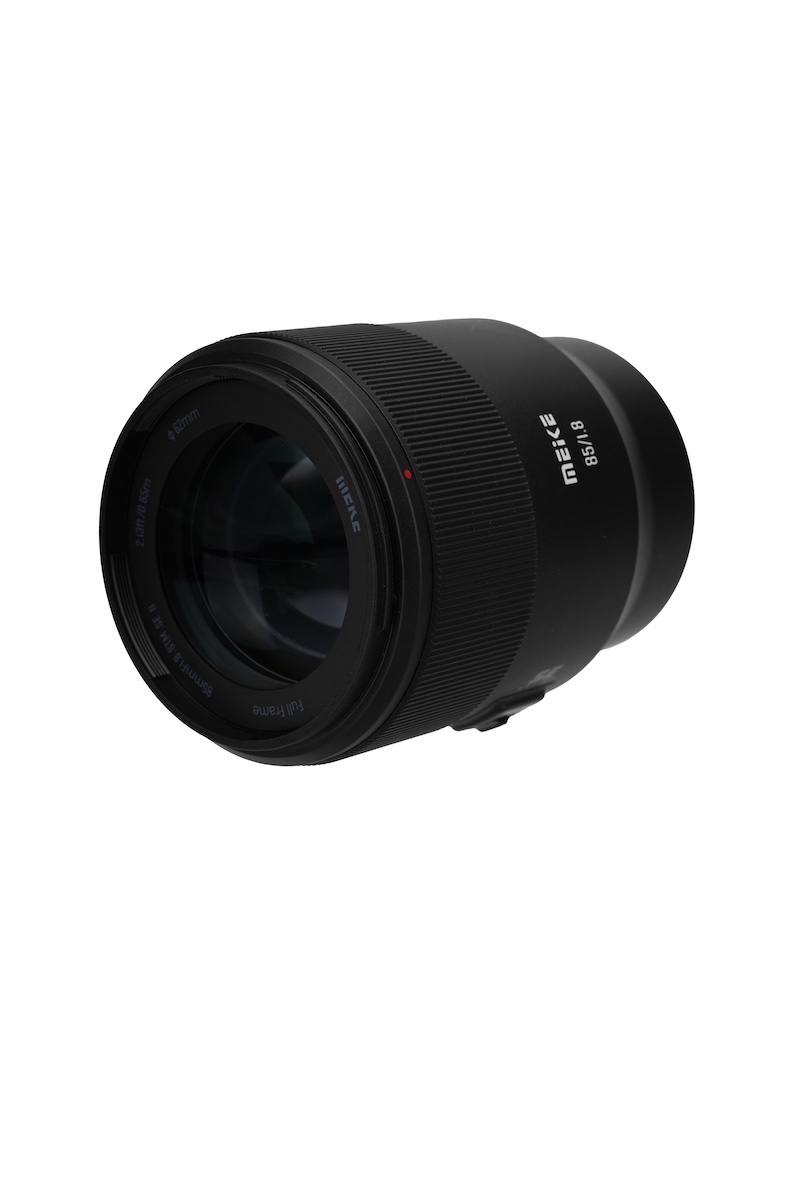
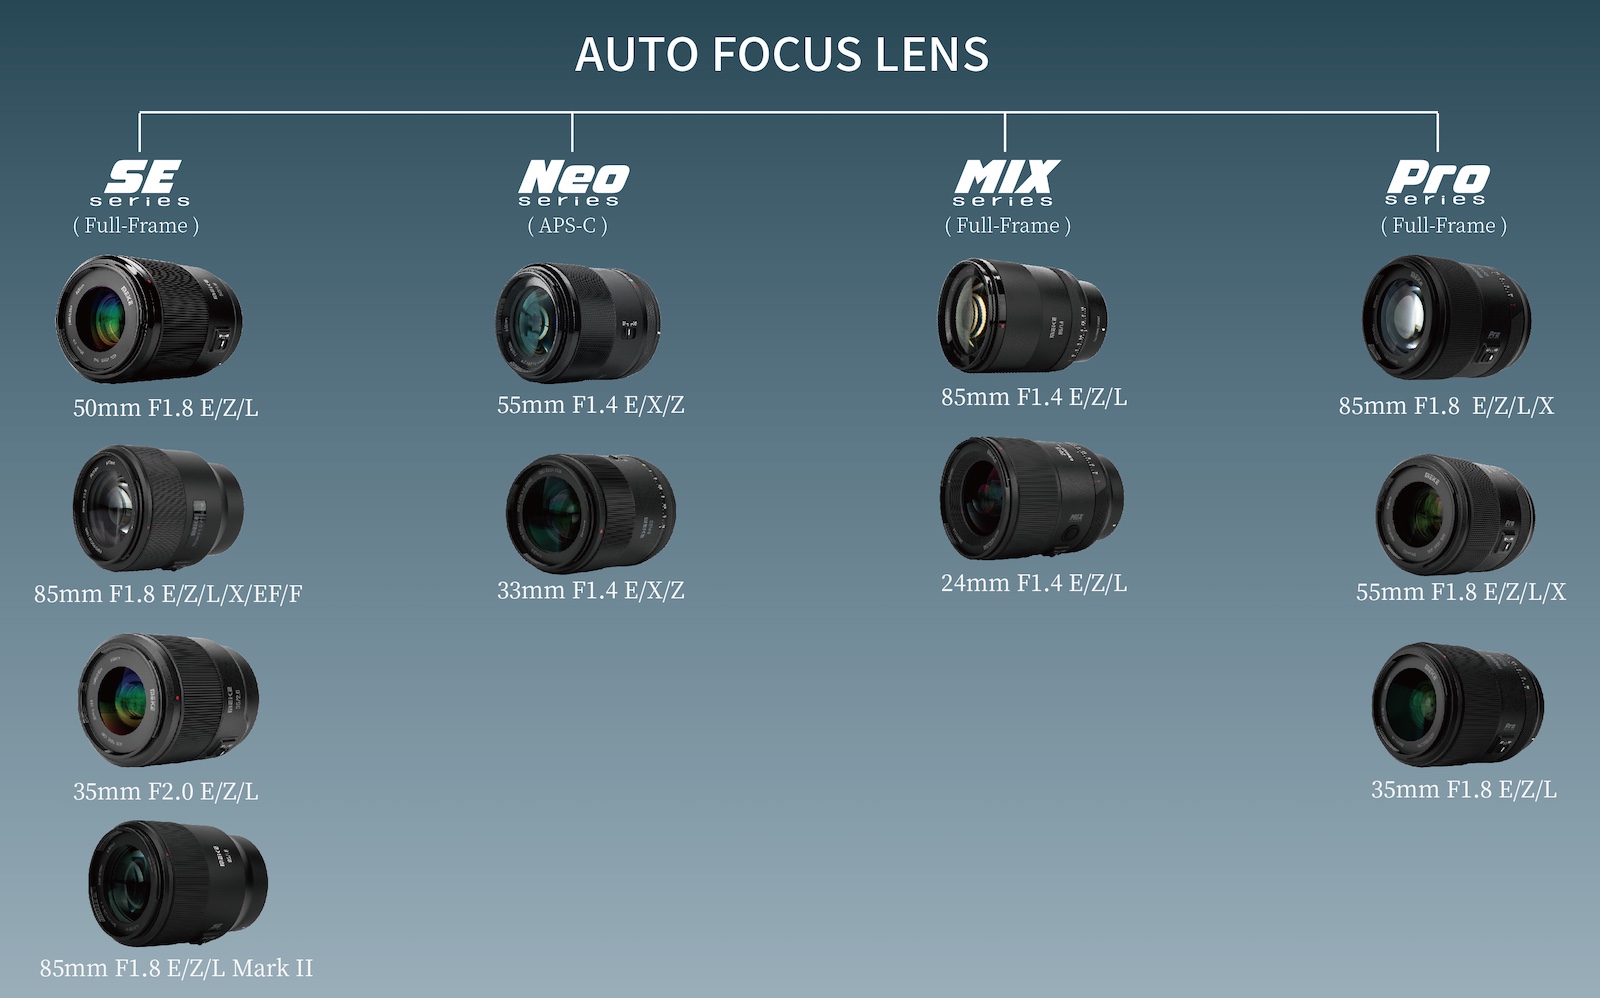
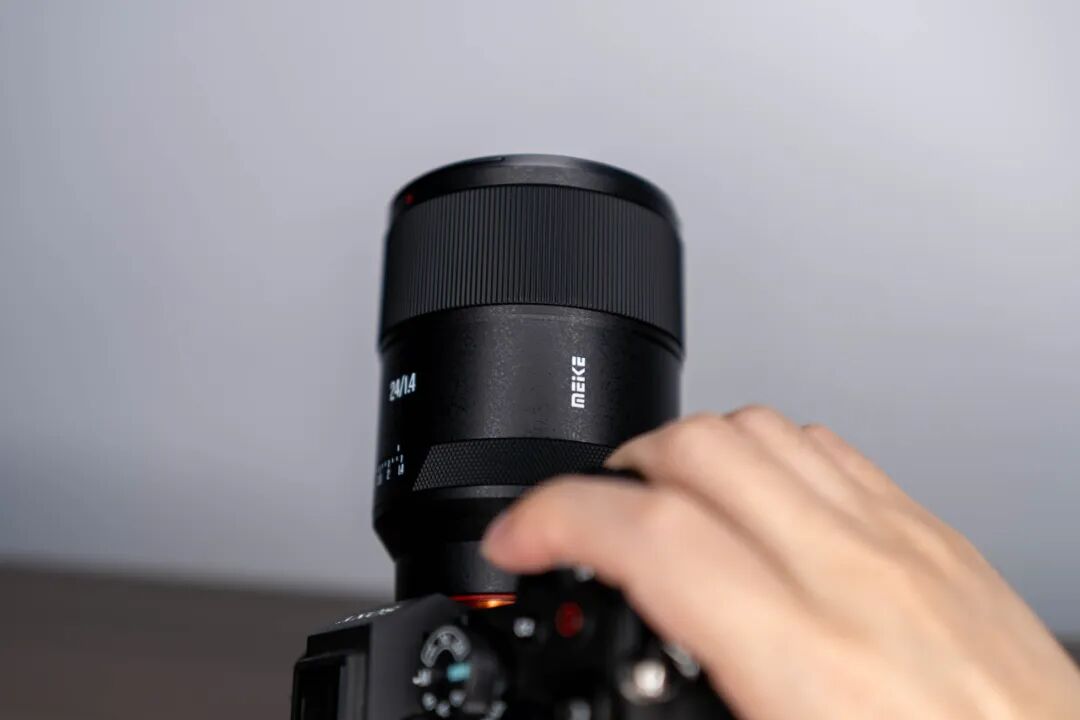
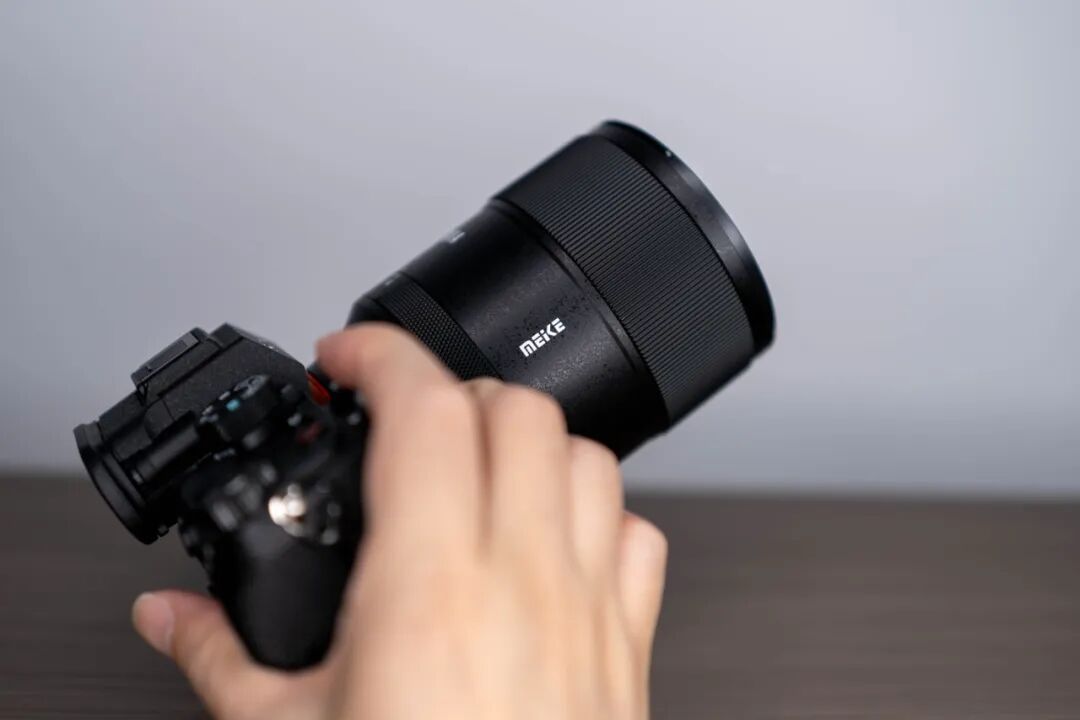
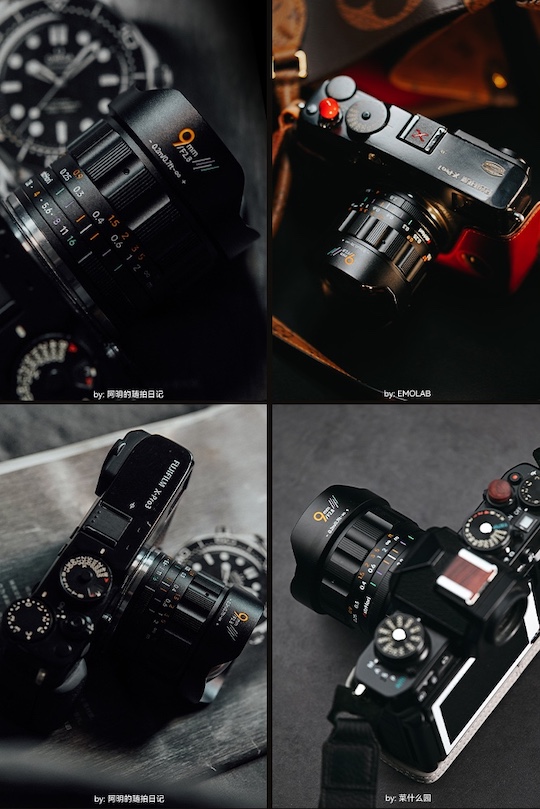
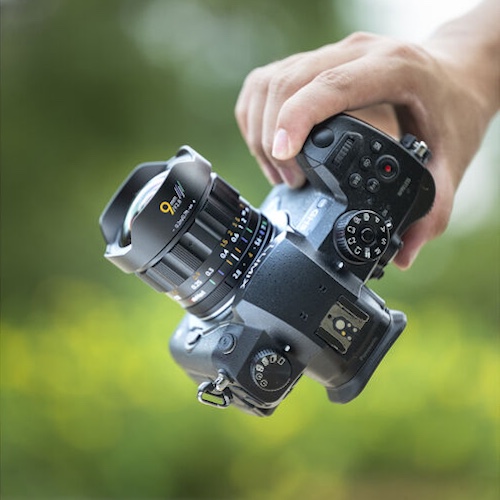
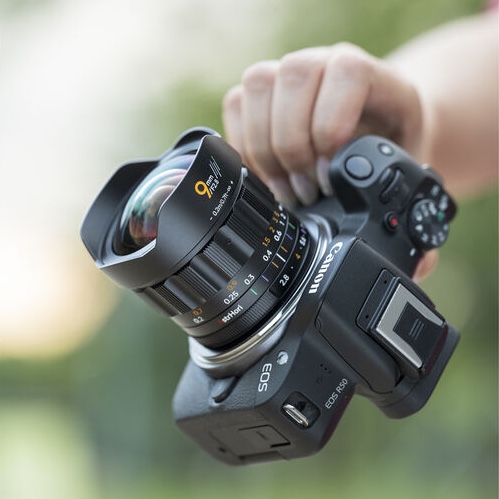
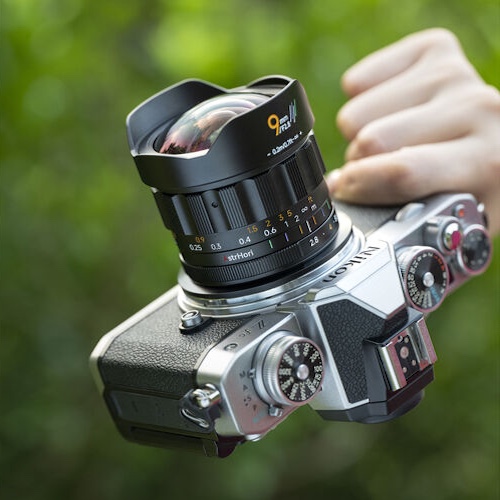
Meike announced a new SE series 85mm f/1.8 Mark II full-frame autofocus lens for Z/L/E mount. Compared with the previous Mark I version, the new 85mm f/1.8 SE Mark II features less CA, better image quality, faster focusing speed, and a closer focusing distance (0.65cm). Orders are now open at:
Meike has announced the SE Series 85mm F1.8 Mark II lens for full-frame L mount, Z mount and E mount cameras. The third-party lens manufacturer promises improvements across the board with the updated model, while maintaining its budget-friendly price.
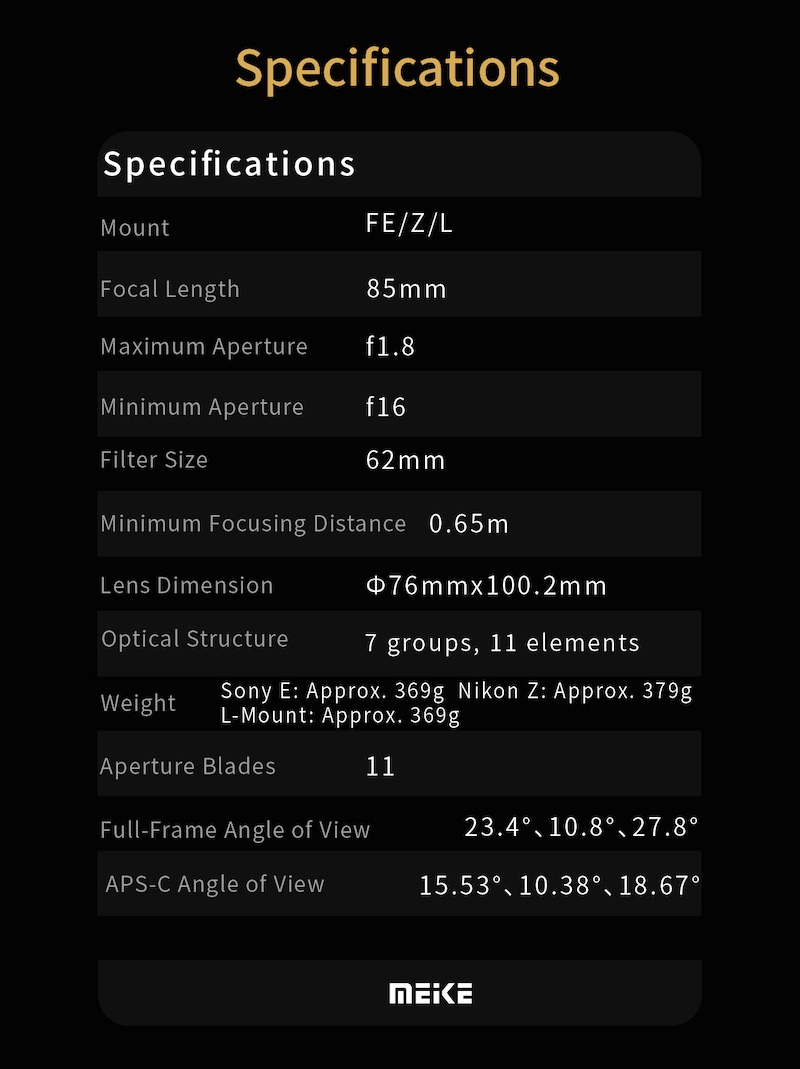
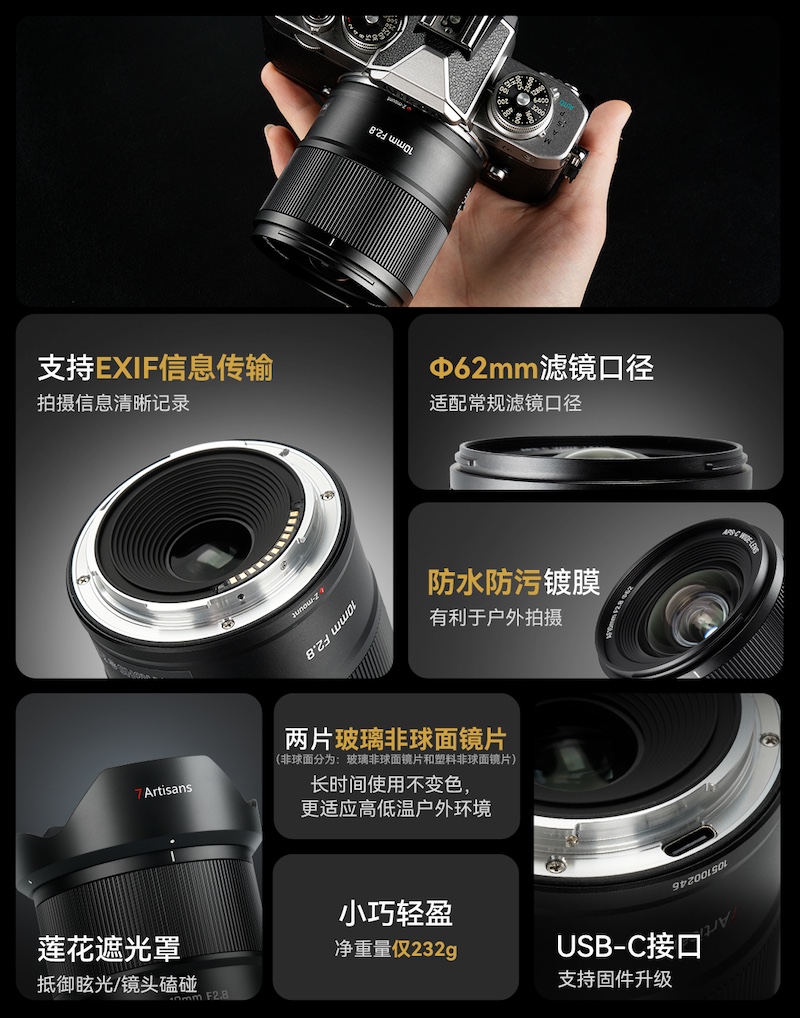
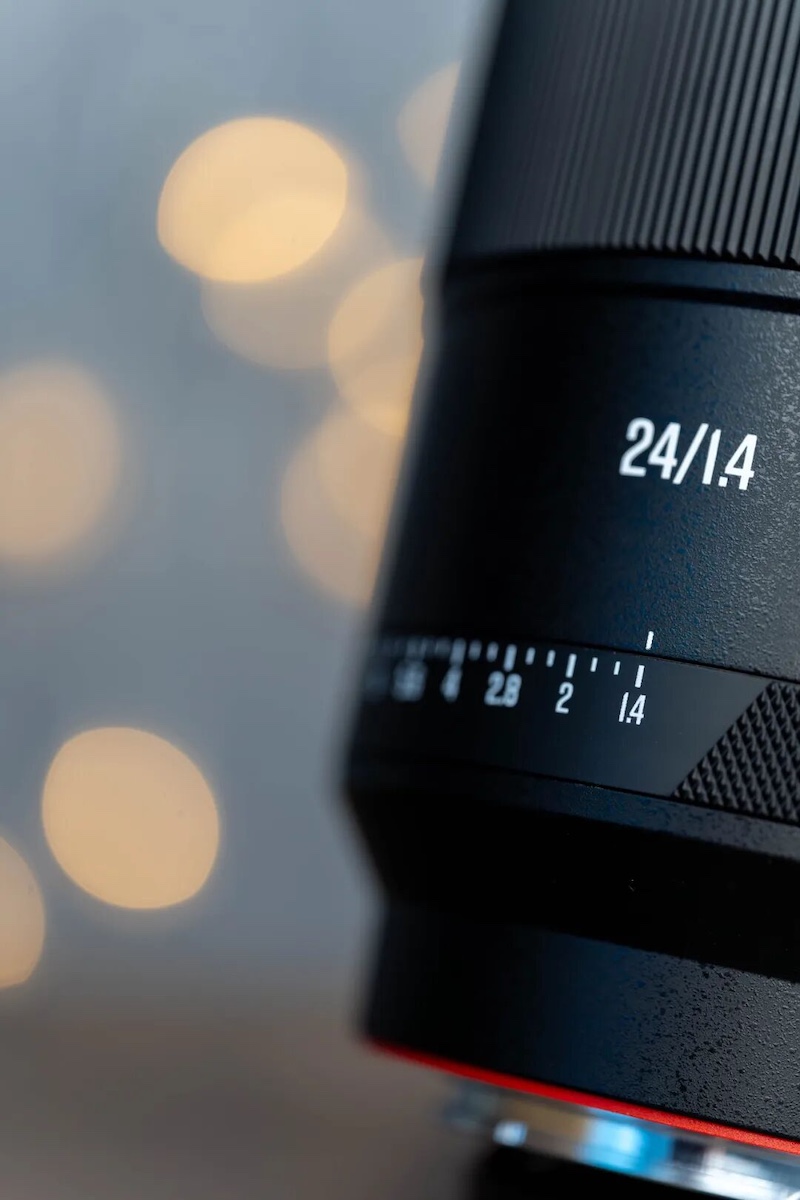
Meike changed the optical design for the second iteration, with the new model featuring 11 elements in 7 groups. The company claims that it has reduced chromatic aberration and improved overall image quality as a result. There are also now 11 aperture blades, compared to 9 in the previous model, with Meike promising "outstanding bokeh."
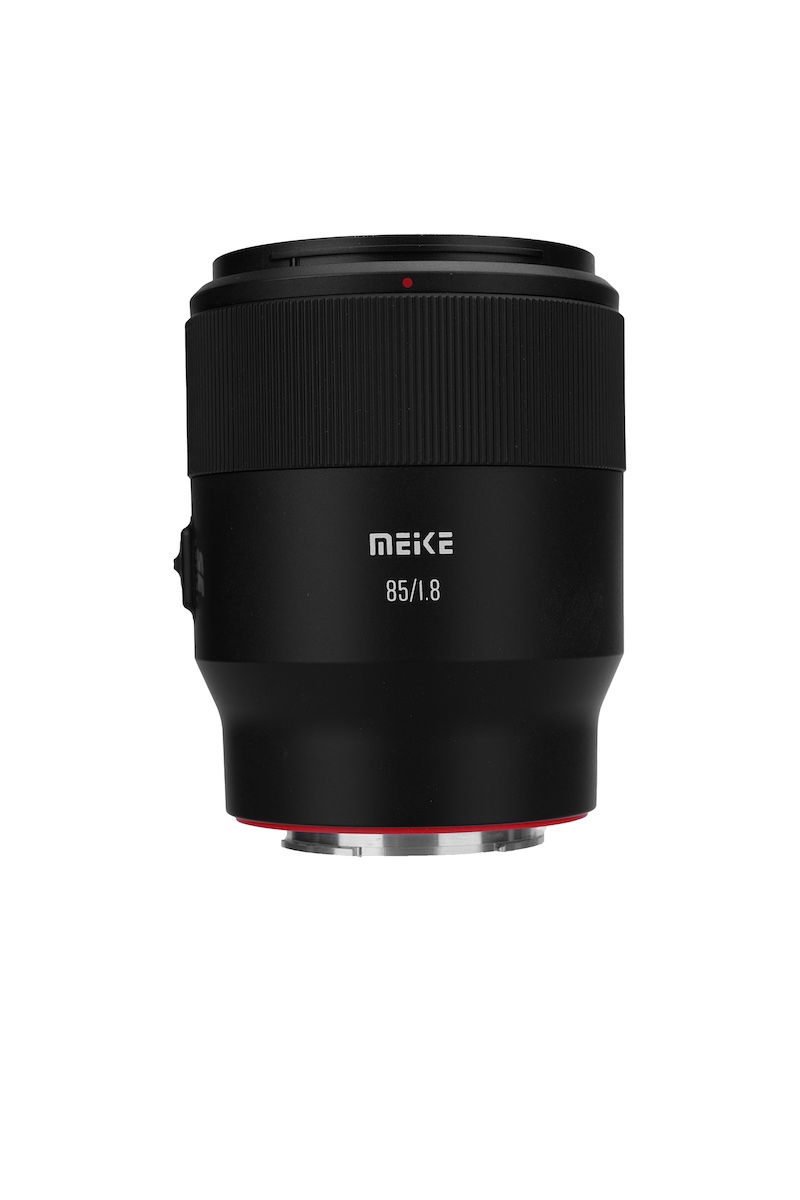
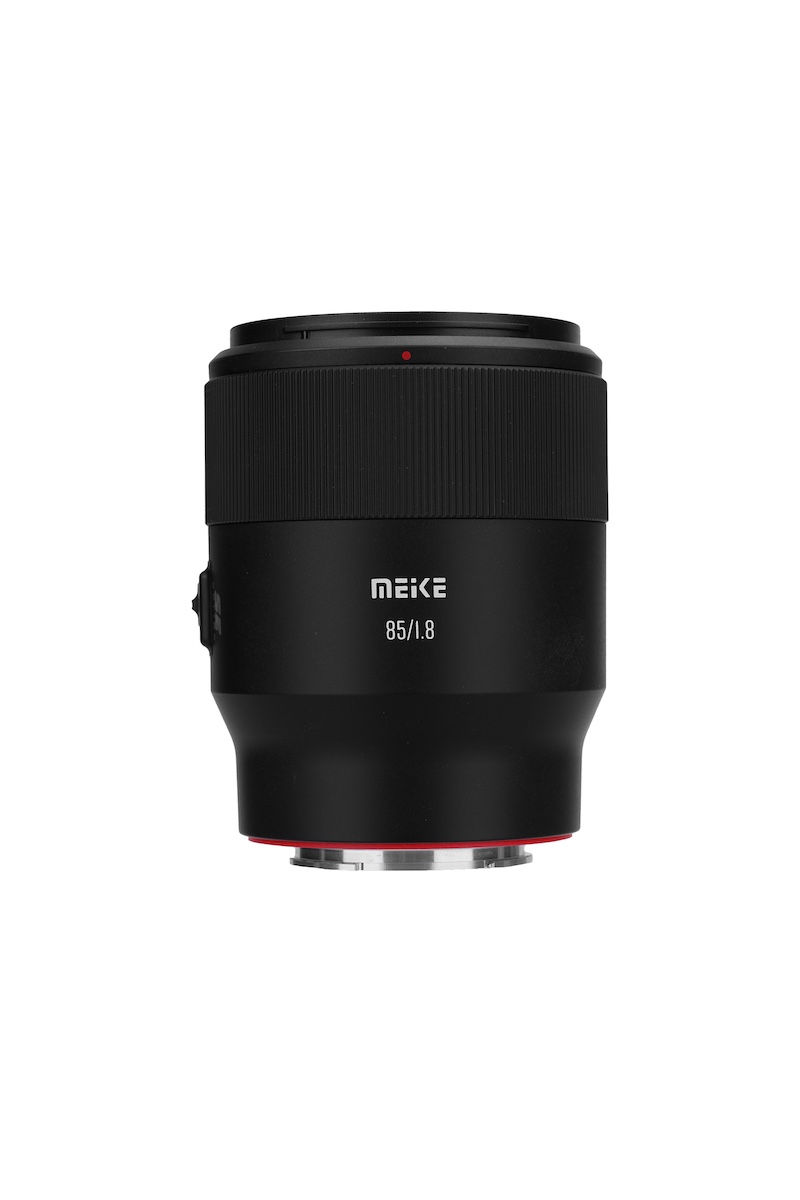
Image: Meike
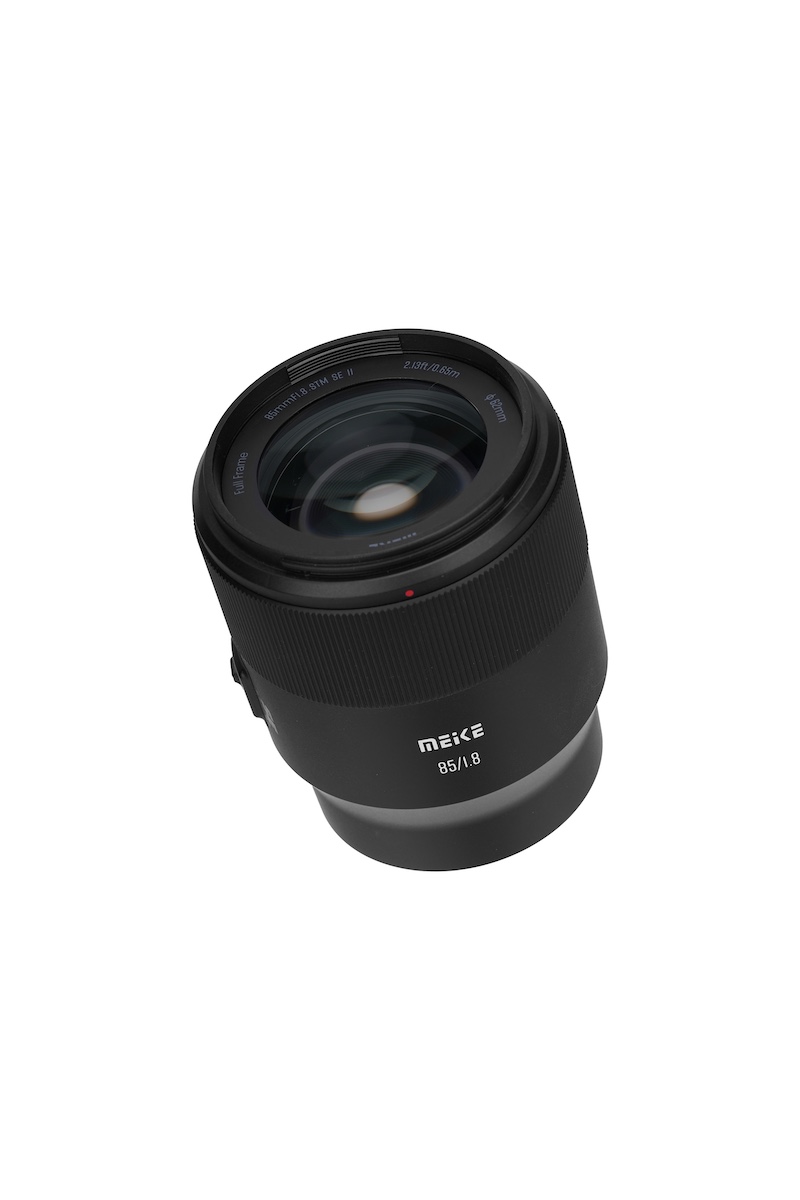
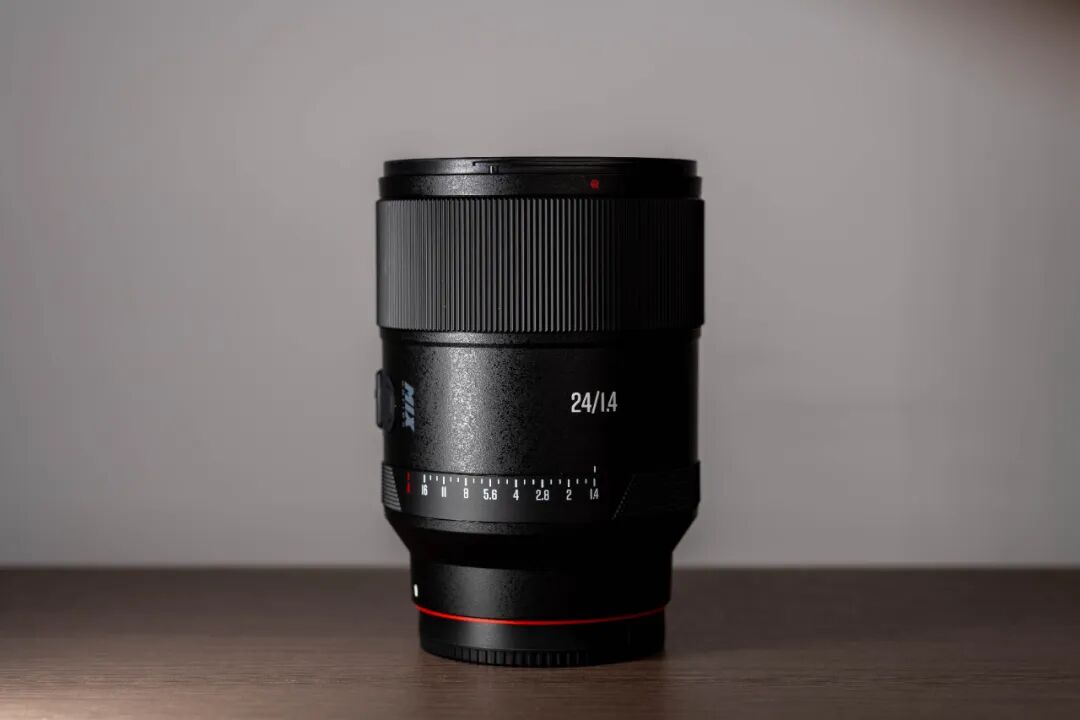
The lens can focus as close as 0.65m (2.1'). The previous model offered a minimum focusing distance of 0.85m (2.8'), so photographers who like to get close will get at least a little improvement on that front. It uses a stepping motor for autofocus, which Meike also says is improved for faster focusing compared to the first version.
Meike's 85mm F1.8 is compact and lightweight, coming in at 369g (13 oz) and 100.2mm (3.9") long. It features a 62mm filter thread and a USB-C port for firmware updates.
Editor's note: This article was originally published in 2017. We’re republishing it now as a resource for photographers looking for insight into capturing the Aurora during the current auroral event.
After publishing my recent 2017 Gear of the Year article, in which I highlighted a lens I used for shooting the aurora borealis, numerous people reached out to ask if I would write a follow-up article on how to photograph auroras. So, I decided to team up with DPReview contributor, astrophotographer, and aurora tour guide, José Francisco Salgado, to share some insight into capturing this amazing natural phenomena.
The aurora is the Earth's own special effects show, seen here from Grundarfjörður, Iceland. ISO 2500 | 30 sec. | F2.8 Photo by José Franciso Salgado
What causes the lights?
The Northern Lights, or aurora borealis, are natural displays of light that occur in the upper part of Earth’s atmosphere due to interaction between charged particles from the Sun and the Earth's magnetic field and atmosphere.
The Sun releases charged particles (including electrons) into space in a continuous stream, called solar wind, as well as in sudden and violent releases called Coronal Mass Ejections. Several days after leaving the Sun, these particles can reach our planet. Most are deflected by the Earth's magnetic field, but some find themselves inside the magnetic field and populate reservoirs within the field. Different events, including interactions with the solar wind, accelerate these particles towards an oval around the magnetic poles.
The Northern Lights are produced when these charged particles, guided by the magnetic field of the Earth, precipitate through the atmosphere and collide with nitrogen and oxygen. These collisions lead to atomic processes called ionization and excitation, which result in the emission of lights of varying color. A corresponding phenomenon in the southern hemisphere is called the Southern Lights, or aurora australis.
The aurora occurs when charged particles, guided by the Earth's magnetic field, collide with nitrogen molecules and oxygen atoms in the upper atmosphere. ISO 6400 | 3 sec. | F2.8 Photo by José Francisco Salgado
Getting to where the auroras are visible
Auroras are typically produced in a band known as the auroral zone, which can be 3° to 6° wide in latitude and between 10° and 20° from the geomagnetic poles. This means that auroras are normally seen at very high latitudes (north and south). The region where auroras occur at any given time is called called the auroral oval. Auroras are also produced in the dayside of the Earth, but since sunlight is about a million times brighter this renders them invisible during the day.
Although it's easier to see auroras at higher latitudes, solar activity can cause the auroral oval to enlarge, making them visible at lower latitudes, including the northern regions of the continental US. Since geomagnetic activity responds to solar activity several days later, it's possible to forecast auroral activity to help with your planning.
NOAA provides long-term (3 days) and short-term (30 min) aurora forecasts online. Also, there are several alert systems including email notifications from spaceweather.com or smartphone apps that can provide alerts when the aurora is active at your location, such as My Aurora Forecast & Alerts (iPhone; Android) and Aurorasaurus (iPhone; Android).
NOAA's 30-minute forecast shows the intensity and location of the aurora forecast for the time shown at the top of the map.
When Northern Lights are forecast to be visible, find an open field with an unobstructed view of the north. If you don't want to wait for that to happen, or if you want to see the most intense aurora, you'll need to move to higher latitudes. Before traveling to a particular northern location, consider three factors:
Is the location within the auroral zone?
Is the weather usually clear at that location during the month you're planning to visit? (Clouds occur at much lower altitudes than auroras, which occur above 100 km.)
Will local light pollution impede your observations and photography? The website Lightpolutionmap.info can be of assistance here.
Some locations to consider are:
Fairbanks, Alaska
Yellowknife, NT, Canada
Churchill, MB, Canada
Outside Reykjavik, Iceland
Norwegian Lapland, Norway
Swedish Lapland, Sweden
Finnish Lapland, Finland
Some locations to see the aurora australis:
Stewart Island, New Zealand
Ushuaia, Argentina
Antarctica
Photographing the Northern (or Southern) Lights is not very difficult, but you do need to get to a location where you can see them. One of the advantages of shooting from frozen lakes in Yellowknife, Canada, is the unobstructed views they provide of the entire sky. ISO 5000 | 5 sec. | F2.8
Remember, locations at extreme latitudes will have almost no nighttime close to the summer solstice, so avoid visiting these place from mid-April to mid-August in the northern hemisphere, or mid-October to mid-February in the southern hemisphere.
Equipment
There’s no ‘correct’ gear for taking pictures of the auroras, but having the right equipment can translate into higher quality images and provide more creative options.
Camera: A camera with a full frame sensor will provide better high ISO performance than those with smaller sensors. That said, modern sensors are extraordinarily good, and it’s possible to get great aurora photos even if you don’t have a full frame sensor, so don’t let that stop you. On a recent trip, some friends of ours captured great aurora pictures using a Sony RX100 III, a camera with a 1”-type sensor.
This photo was captured using a Sony RX100 III, a camera with a 1"-type sensor. The Big Dipper and Ursa Major can be seen in the sky behind the aurora. ISO 3200 | 6 sec. | F1.8 Photo by Steve and Colleen McClure
Lens: A fast, wide lens will let you capture as much light as possible. Anything wider than 24mm will work, though a 14mm or 16mm lens will allow for more dramatic shots. A lens with a maximum aperture of F2.8 is a good starting point, but faster is better. For example, a lens with an aperture of F1.8 has 2.5x the light gathering ability of a F2.8 lens. That’s a big difference in low light.
Tripod: Exposures are usually measured in seconds, so a sturdy tripod is a must. ‘Sturdy’ is the key word. It doesn’t have to be a fancy, state of the art carbon fiber model. As long as it holds your camera steady it will do the trick.
There are some optional accessories worth considering as well. If you plan to capture time-lapse sequences, an intervalometer is required, and these are included on many cameras today. A remote trigger, such as a cable release or smartphone app, will make it easy to trigger the shutter without touching your camera. Finally, since you’re working in the dark, a headlamp that allows you to see what you’re doing while leaving your hands free to work will be useful. (Fellow observers will appreciate you using a headlamp with a red light.)
Footage from The Legend of the Northern Lights, a film shot and produced by José Francisco Salgado to augment symphony orchestra concerts. These time-lapse sequences were shot in 2014 with the Nikkor 14-24mm f/2.8G lens on a Nikon D4 and D3s.
Taking photos
Shooting aurora isn’t technically difficult, but every night is different and you may need to experiment a bit. It’s best to operate your camera in manual mode, with manual focus, for predictable, consistent results.
File format: Set your camera to capture Raw files. This provides the best image quality and the most latitude for making adjustments in post processing, particularly useful if you need to tweak settings like exposure or white balance. Don't depend on a manufacturer’s baked-in Jpeg profile.
Focus: Focusing directly on the aurora is little bit like trying to focus on smoke. Fortunately, relative to your position, the aurora is effectively at infinity. It may be tempting to just rotate the focus ring on your lens to the infinity marker, but on many lenses that’s really more of an approximation.
Aurora in Canada's Northwest Territories. ISO 3200 | 4 sec. | F2.8 Photo by Dale Baskin
If you’re focusing at night, use your camera’s live view feature. Point the camera at the brightest star you can see, magnify the view to the maximum, and rotate the focus ring until the disk of the star looks the smallest. Once you think you’ve achieved critical focus, take a test shot and review the image for sharpness. If adjustment is needed, repeat.
Once focus is achieved, a useful technique is to lock the focus ring in place with gaffer’s tape to prevent it from moving. Alternatively, you can place marks on the lens with a marker in order to return the ring to the same position. These methods can also be used if you want to focus on a distant object during the day and save the focus position for later.
Aperture: Set your lens to its widest aperture to let in as much light as possible. If you’re concerned about optical performance wide open you can stop the lens down a bit, but doing so will quickly reduce the amount of light reaching the sensor. If at all possible, shoot at F2.8 or wider.
Shutter speed: Optimal shutter speed will depend on the brightness of the aurora and how quickly it’s moving. A short shutter speed will capture detail and structure that would otherwise be averaged out over a longer exposure. On the other hand, a slight motion blur can make an aurora photo more aesthetically pleasing. Take a few test shots to find the optimal balance, but 5-10 seconds is a good starting point to work from.
If the lights are dancing around quickly, shorter shutter speeds will let you capture more of the detail and structure of the aurora that would be otherwise be averaged out in a longer exposure. ISO 1600 | 3.2 sec. | F1.8 Photo by Dale Baskin
ISO: Set your ISO to the highest level that gives you acceptably clean results on your camera. This will allow you to keep shutter speeds as low as possible in order to capture more detail in the aurora. Depending on conditions, you may be able to get by with ISO 800, though you may have to go to 6400 or higher.
Long exposure noise reduction: If you’re planning to take individual photos, turning this on will provide some benefit; however, it will effectively double exposure time while the camera shoots a dark frame. If you plan to shoot time-lapse sequences, leave this feature off to avoid long delays between exposures.
Other considerations
Embrace the landscape. Part of what makes the aurora interesting are the remote places where it’s frequently seen. In Alaska, photos may contain mountains. In northern Canada, it might be silhouettes of trees in the taiga forest. Iceland might present you with glaciers. Each place is unique and part of the story behind the photo.
Embrace landscape features and even man-made objects to enhance your aurora photos. ISO 6400 | 8 sec. | F2.8 Photo by José Francisco Salgado
When creating compositions, think about other features or objects you could include. Snow and water can reflect light from the aurora, though in very different ways. Man-made structures can provide interesting elements in a scene or silhouettes. Since a wide aperture will produce a shallow depth of field, avoid objects close to the camera unless you want them to be way out of focus on purpose.
Know your equipment. Depending on where you are, aurora can quickly go from being a slow, undulating wave to a rapidly moving, multi-colored light show. Be prepared to shift gears and adjust your settings quickly to avoid missing great photo opportunities.
Finally, be patient. Mother Nature works on her own schedule, and you’ll need to work around it. If at first you don’t succeed, keep trying. It’s worth it.
Lens names can be quite complicated, with some brands including every detail about the lens in their name. Thankfully, Sony takes a more simplistic approach. Its lens names are generally concise and straightforward, without an extensive list of acronyms and abbreviations to decipher. Still, there are some terms included in Sony lens names that are important to understand.
Lens format
Before the focal length of the lens, Sony includes information about what size sensor the lens is compatible with.
FE and E
The E PZ 16-50mm F3.5-5.6 OSS II lens is designed for APS-C cameras, as the 'E' at the start of the lens name shows. Image: Sony
First and foremost, as with other companies, Sony includes a lens's sensor compatibility at the very beginning of a lens name. Lenses that start with FE, such as the Sony FE 24-70mm F2.8 GM II, are designed for full-frame Sony E-mount cameras. These can be used on any Sony E mount camera, including its crop sensor offerings.
The E at the start of a Sony lens name means that it is made for the company's APS-C mirrorless cameras. While these lenses will work on Sony's full-frame E mount cameras, they cover a smaller image circle and will result in heavy vignetting (black corners). You can set the camera to crop automatically to avoid vignetting, but doing so means the camera will use a smaller APS-C-sized portion of the sensor.
Lens features
After the focal length and maximum aperture, there may be a few other abbreviations, depending on the lens. These refer to either specific lens features or the lens lineup to which it belongs.
OSS
The FE 28-70mm F3.5-5.6 OSS offers optical stabilization. Image: Sony
OSS stands for 'Optical SteadyShot.' This terminology is Sony's phrasing for optical stabilization. As with any other brand's stabilization, it aims to reduce blur from camera shake when using slower shutter speeds.
PZ
A 'PZ' in the lens name means that it offers power zoom capabilities. This feature isn't exclusive to Sony; Canon, for example, also manufactures power zoom lenses and adapters. Power zoom lenses enable motorized control of the zoom ring, making it ideal for smooth and consistent zoom operation during video work.
DDSSM, RDSSM and XD
Sony also uses acronyms to refer to its brand-specific autofocus motors. These autofocus motor acronyms aren't in the lens names, but you will see them mentioned in lens descriptions. The Direct Drive Super Sonic wave Motor, abbreviated as DDSSM, is designed for precision autofocus with larger and heavier full-frame lenses. Sony promises quiet autofocus from these motors, making them ideal for video applications.
The Ring Drive Super Sonic Wave Motor (RDSSM) is a piezoelectric motor that promises smooth, precise and silent autofocus operation. Lastly, the Extreme Dynamic Linear Motor (XD LM) is Sony's version of a linear motor, developed to offer higher thrust and efficiency, allowing it to meet the demands of high-speed cameras.
Lens series
Sony's lens lineup also includes various lens classes to meet the needs of different types of creatives. These include its in-house classifications, the G and GM series, and a series of lenses that also feature Zeiss branding.
G, GM
The FE 50-150mm F2 GM is part of Sony's top-tier GM lineup. Image: Sony
You may see either 'G' or 'GM' in Sony lens names. These refer to specific Sony lens lineups. The G lineup, which stands for Gold Standard, is Sony's advanced enthusiast series of lenses that sits above the company's basic kit lenses. They promise good sharpness, reliable autofocus and weather sealing. They come at lower prices than Sony's top-tier lenses, and, as a result, offer slightly slower maximum apertures and less specialized optical formulas.
GM stands for G Master, which is Sony's top-of-the-line series. GM lenses are professional-grade and designed for the most demanding photographers and videographers. They feature advanced optical designs for maximum sharpness and clarity, more robust weather sealing, faster autofocus motors, improved bokeh and faster maximum apertures. Of course, all of those improvements come with a larger, heavier build and higher prices than other Sony lenses.
Sonnar T*, Vario-Sonnar T*, Distagon T*, or Planar T*
The Sonnar E 24mm F1.8 ZA lens was made in collaboration with Zeiss. Image: Sony
Some Sony lenses may have additional words before the lens format, plus a 'ZA' (Zeiss Alpha) at the end. These lenses are co-branded with Zeiss, the German optics company, which provided support to Sony throughout the optical design and development process. ZA lenses sit above the G range, promising improved performance over G lenses. However, Sony appears to have stopped licensing the Zeiss name after it began developing its GM series of lenses, which meet even more stringent standards than those required by the Zeiss collaboration.
Sonnar lenses, such as the Sony Sonnar T* FE 35mm F2.8 ZA, use an optical design originally developed by Dr. Ludwig Bertele in 1930. These are prime lenses that are relatively simple in design, lightweight and offer fast maximum apertures. Vario-Sonnar lenses also use the Sonnar optical design, but with zoom capability. Like the prime versions, they are designed to be compact but with greater flexibility, thanks to the zoom capabilities.
The Distagon FE 35mm F1.4 ZA is also a co-branded lens from Sony and Zeiss. Image: Sony
The Distagon lens design was created in 1952 to produce quality results from wide-angle lenses. As a result, Distagon lenses, such as the Distagon T* FE 35mm F1.4 ZA, are all wide-angle lenses. They also offer fast maximum apertures.
Lenses with 'Planar' in the name, such as the Sony Planar T* FE 50mm F1.4 ZA, use the Zeiss Double-Gauss design. These promise low distortion and excellent flat field sharpness, which is ideal for edge-to-edge detail.
You'll notice that all of these lenses have 'T*' in the name. That designation refers to the T* coating, which promises improved color fidelity and image clarity.
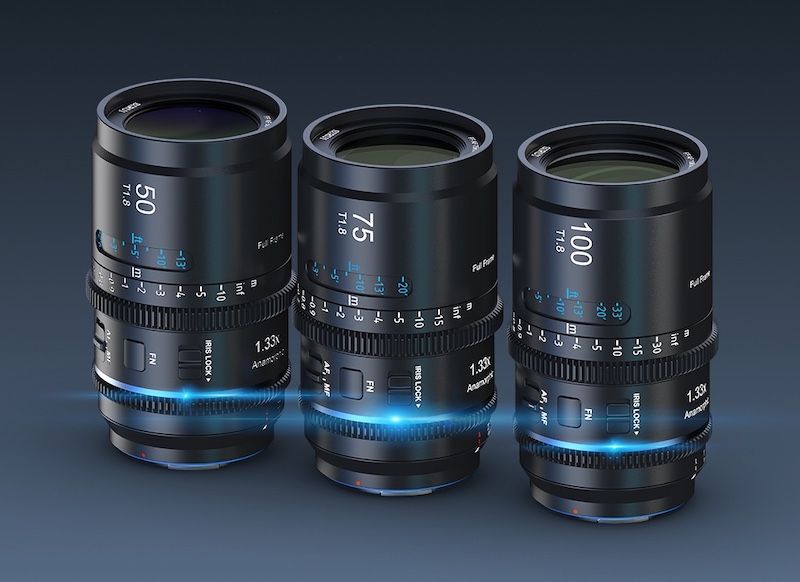
New Sirui Astra 50/75/100mm at T1.8 1.33x full-frame anamorphic autofocus lenses for L/E/Z mount (world’s first). More focal lengths to be added later. Coming soon on Kickstarter (in November).
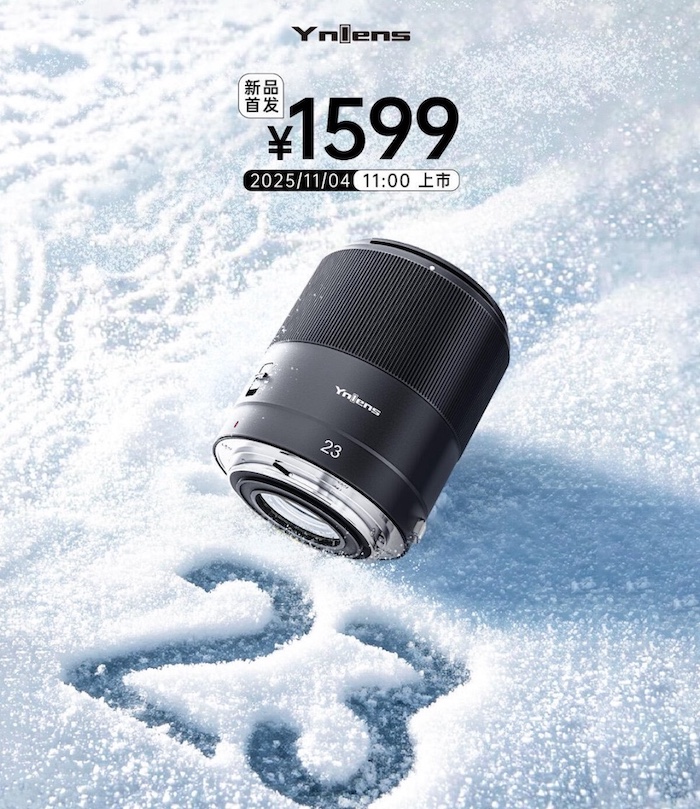
New Meike AF 23mm f/1.4 lens coming soon.
New Yongnuo YN 33mm f/1.4 R DA DSM lens with a lock button.
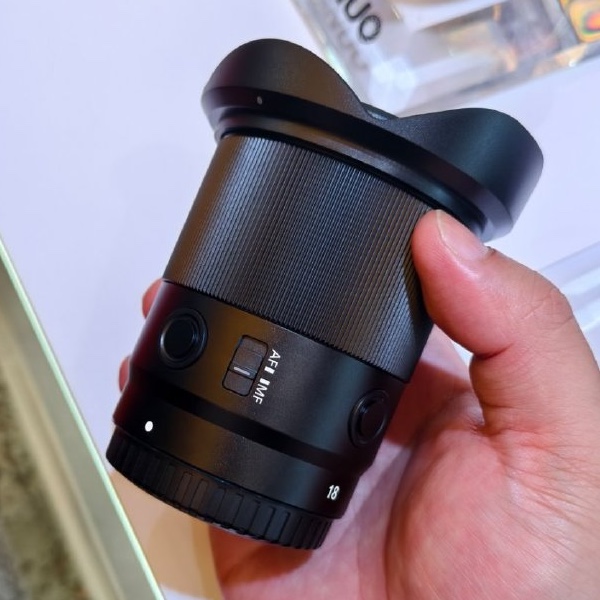
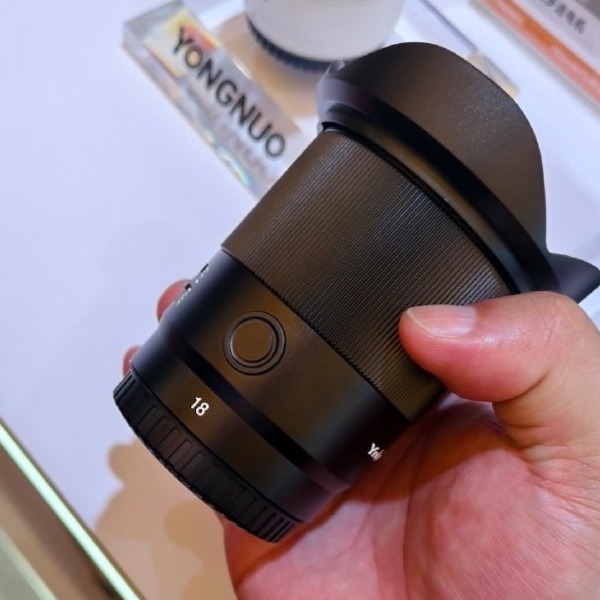
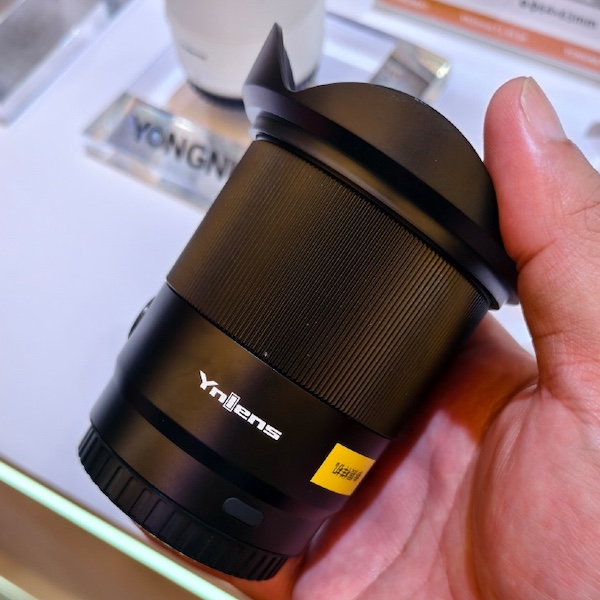
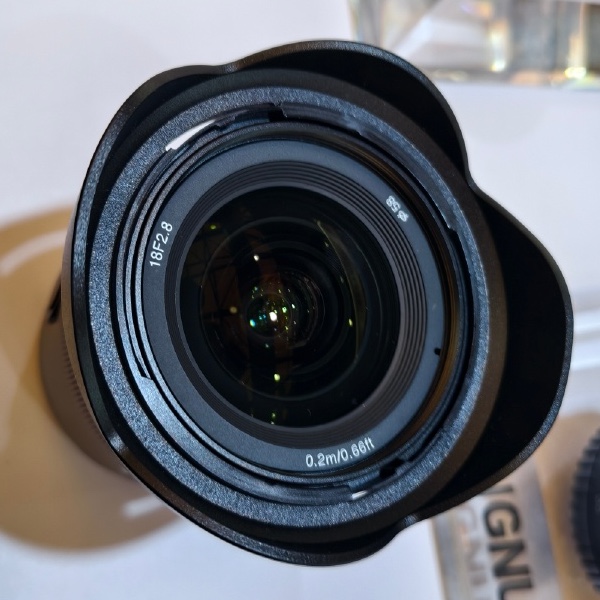
New Yongnuo 18mm f/2.8 full-frame autofocus lens.
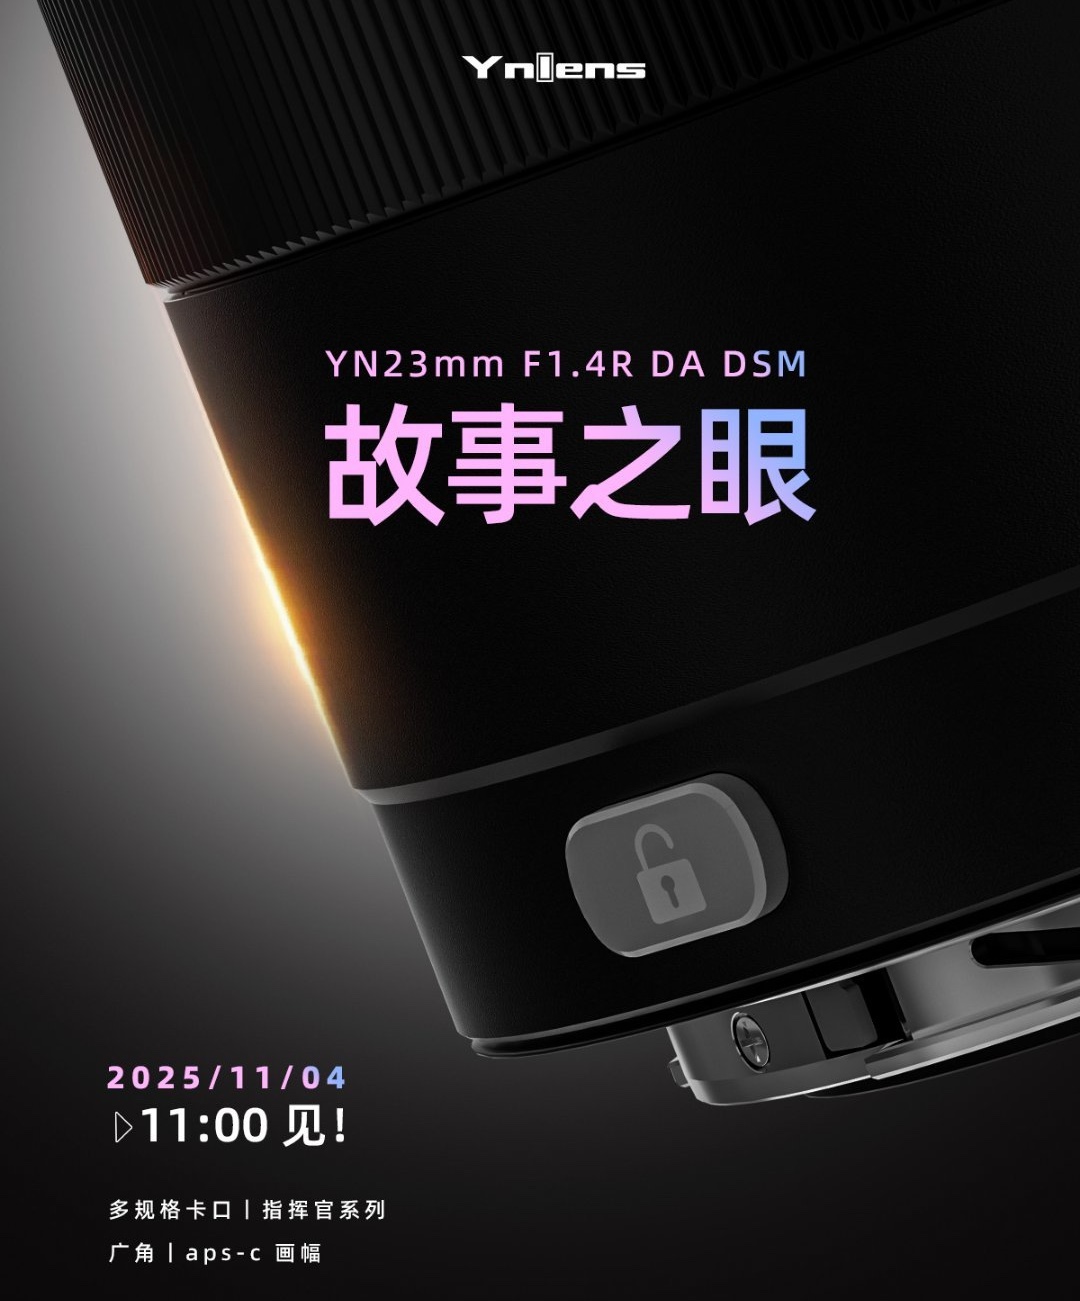
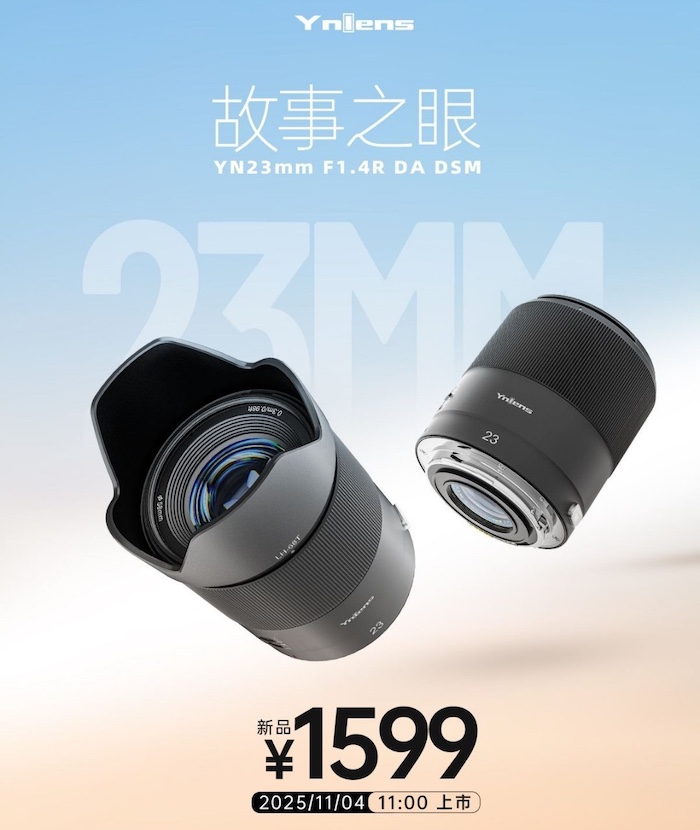
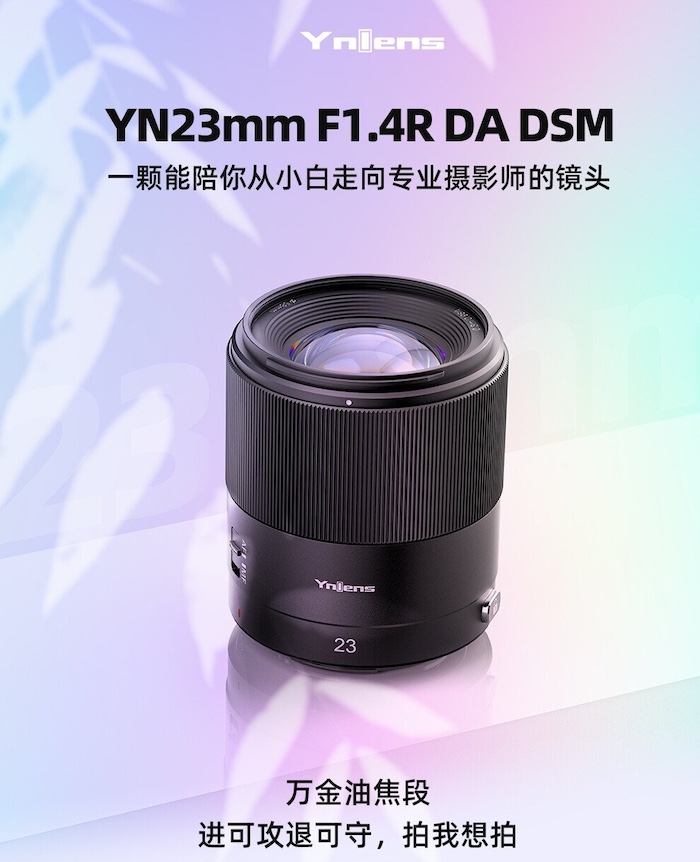
New Yongnuo YN23mm f/1.4R APS-C lens.
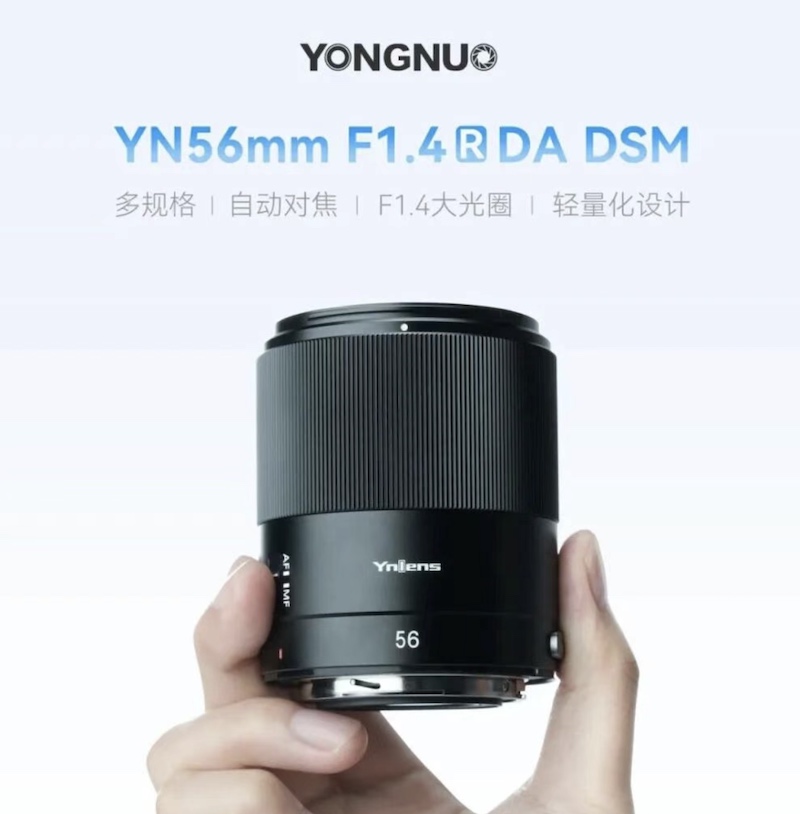
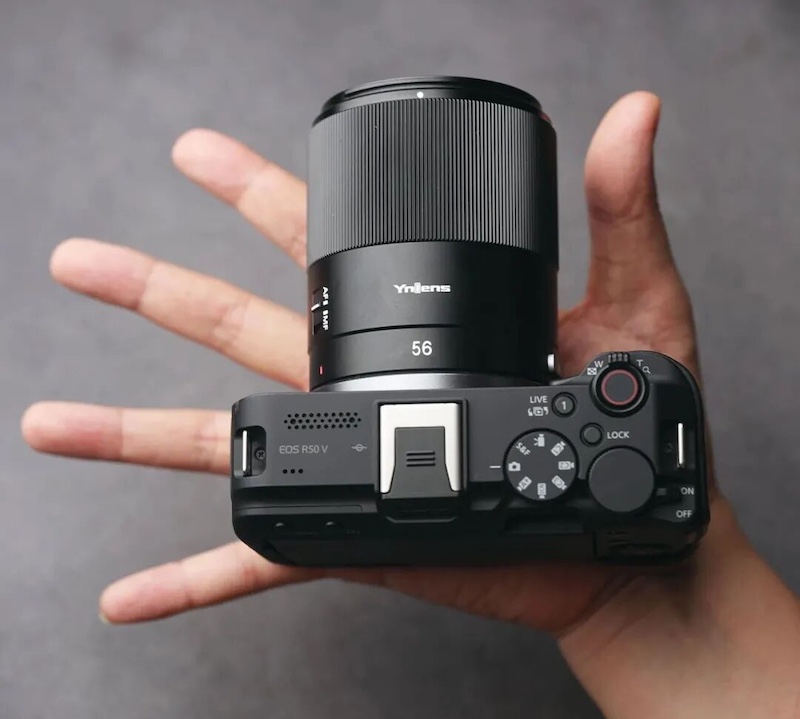
New Yongnuo YN 56mm f/1.4 R DA DSM lens (RF mount version).
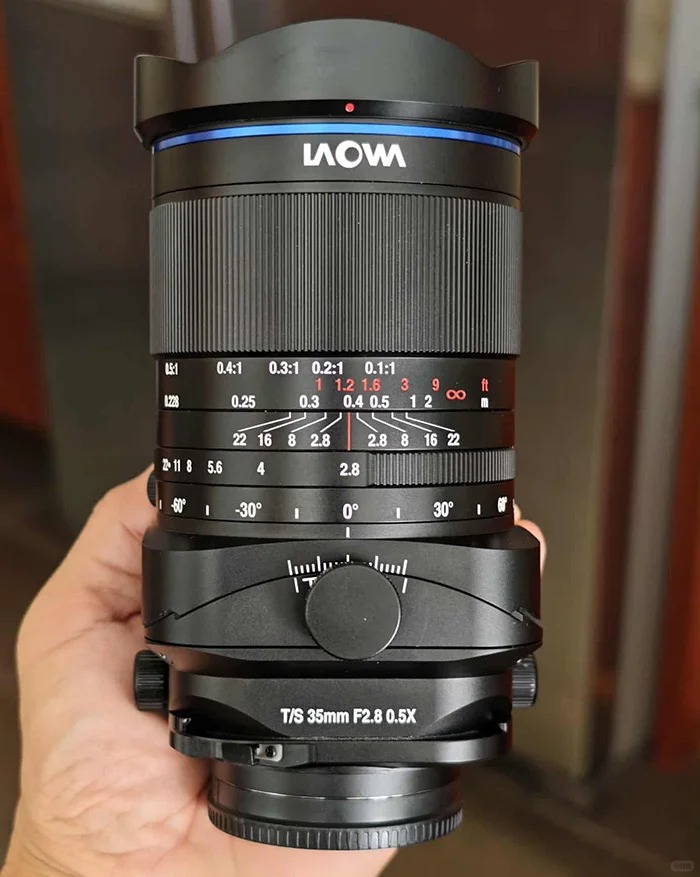
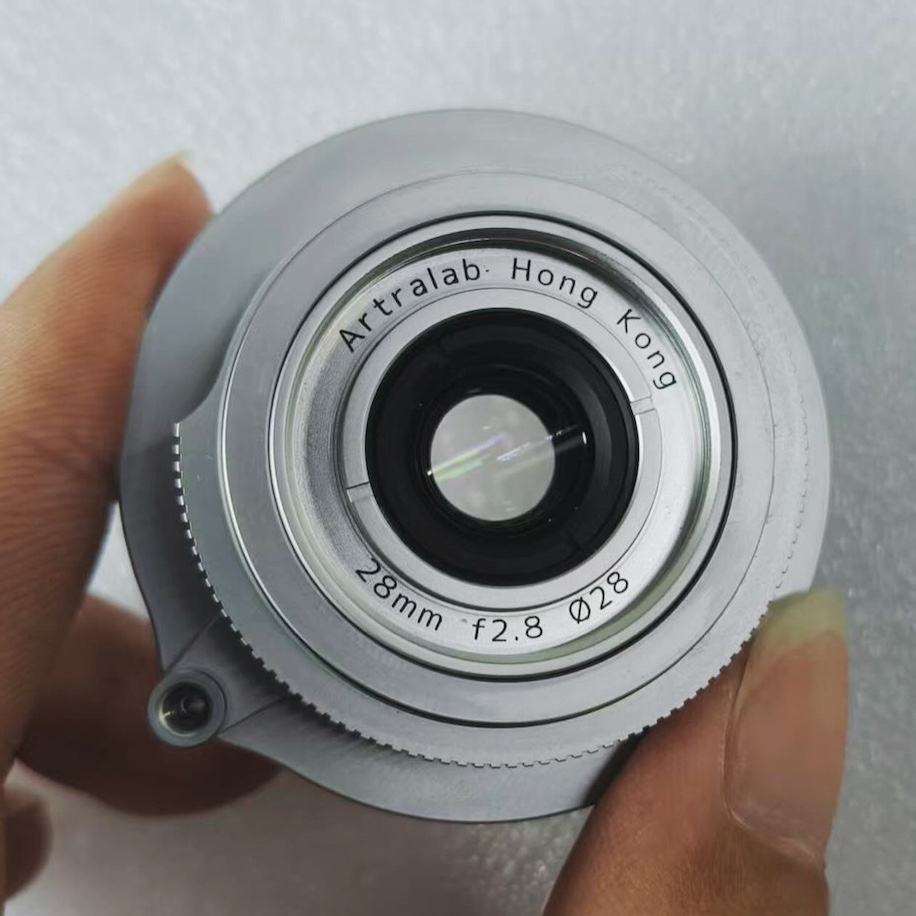
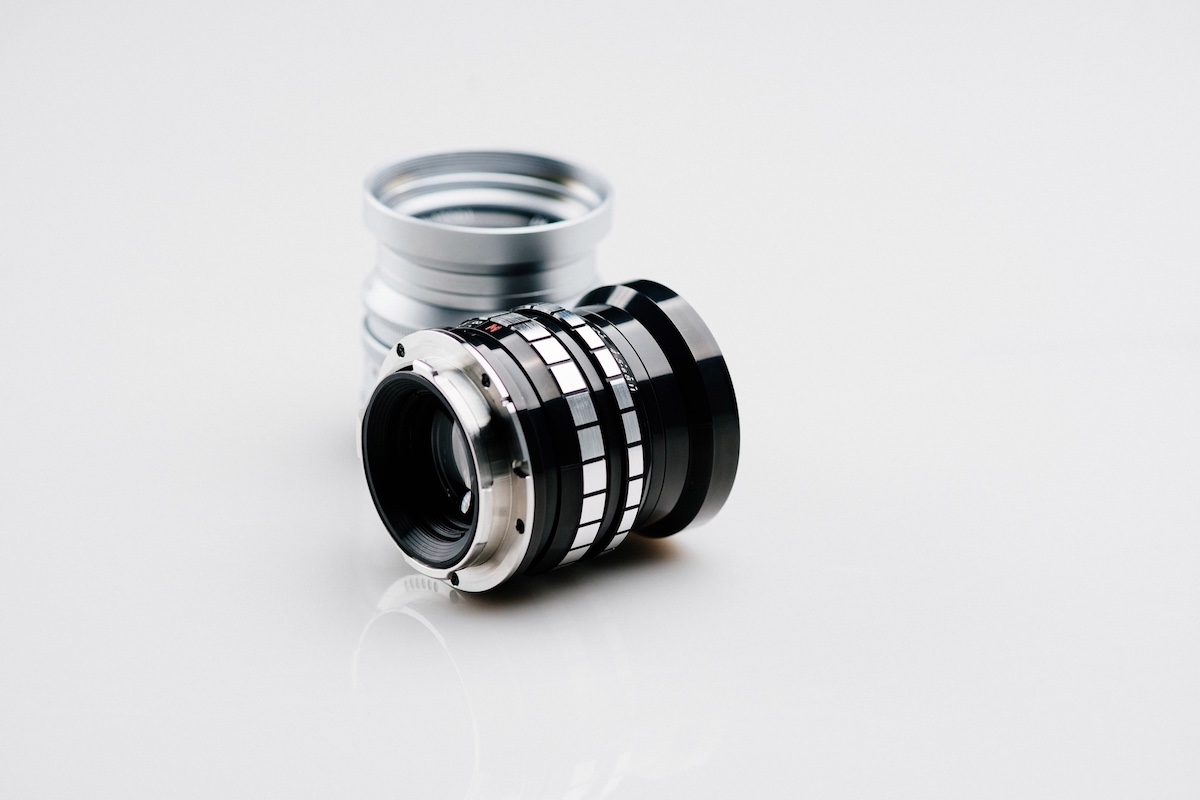
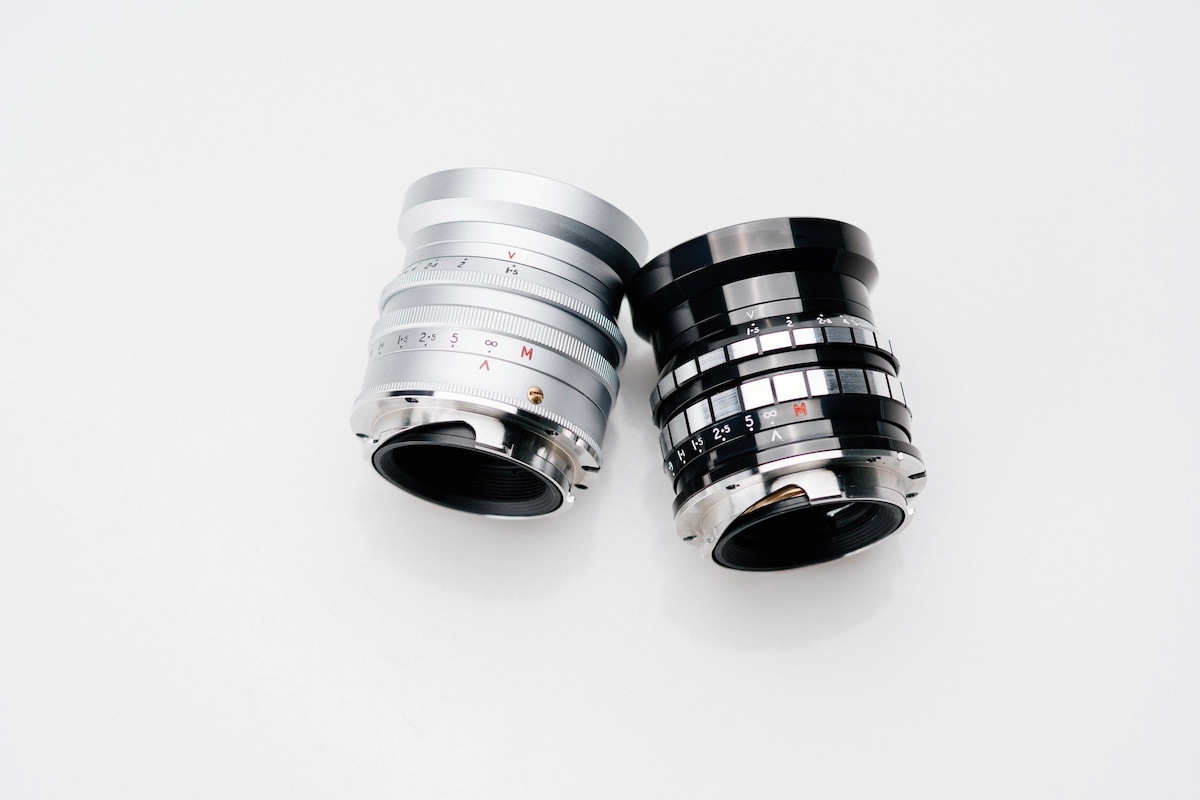
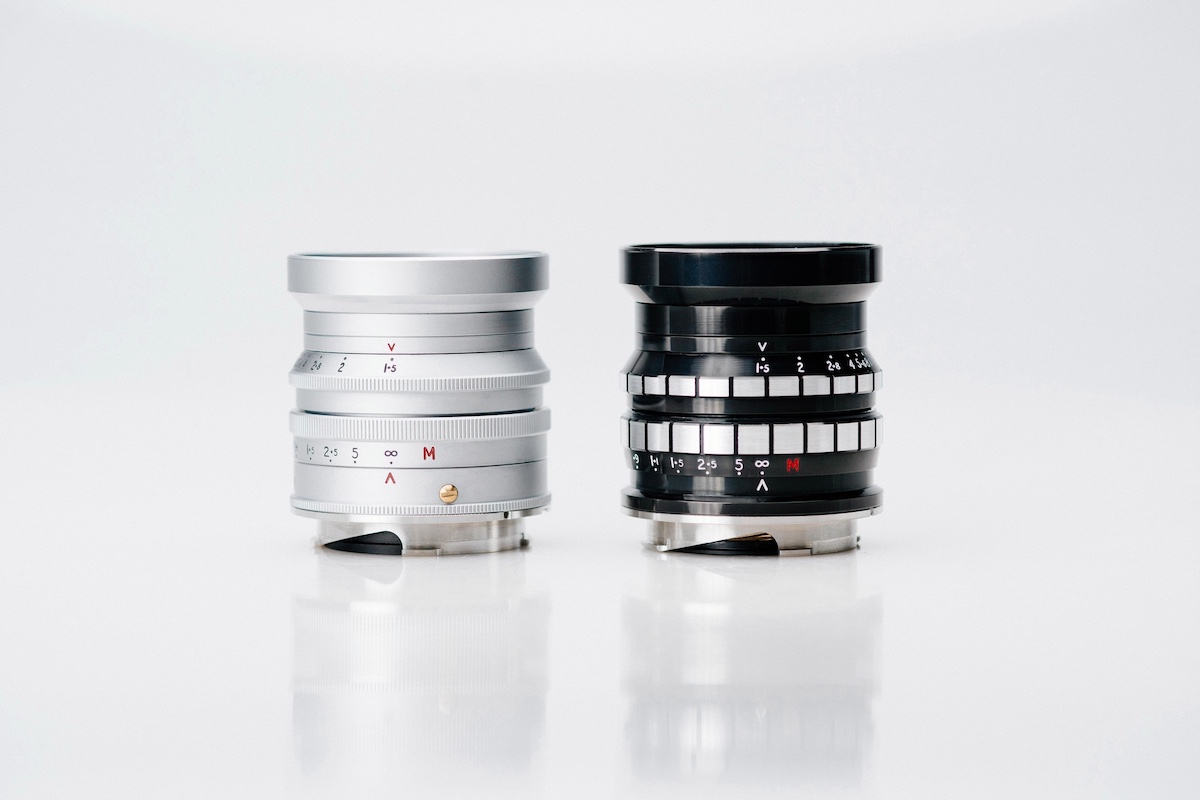
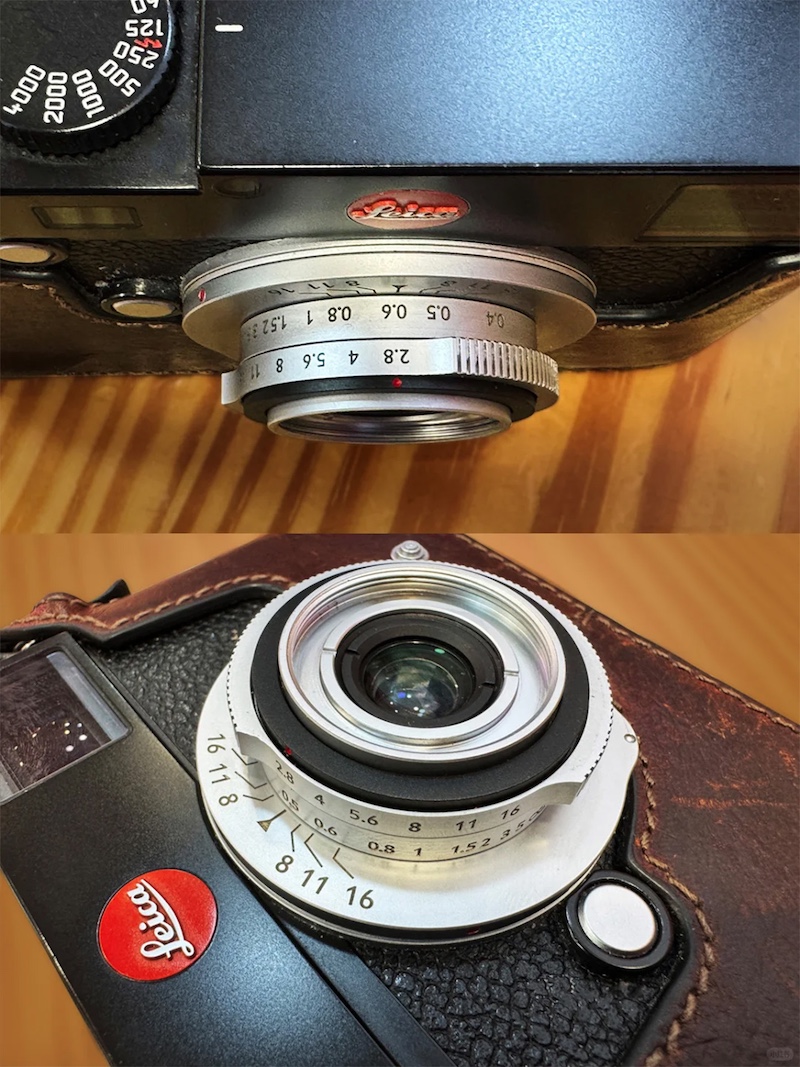
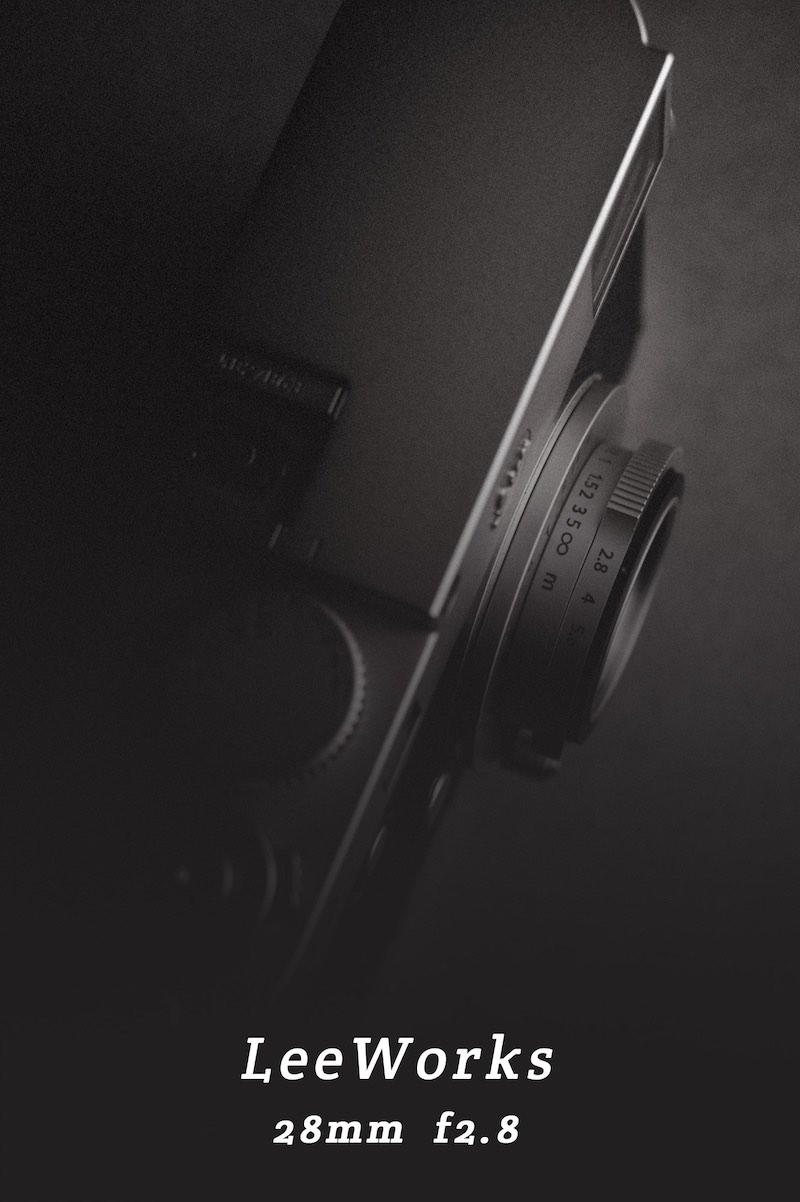
A new Lee Works 28mm/2.8 lens for Leica M-mount is coming soon (minimum focusing distance of less than 0.4m).
Apologies and information regarding product supply status
Release date: November 11, 2025
Thank you for your continued patronage of Canon products.
We are currently experiencing delays in delivery for the following products due to the large number of orders we have received. We apologize for any inconvenience this may cause to our customers and business partners. We will continue to take measures to ensure a stable product supply so that we can deliver products as soon as possible. We appreciate your understanding.
A cut-in half Canon EF 400mm F2.8L IS II lens from 2010, shown surrounded by all the components from which it's made, in the foyer of Canon's Utsunomiya factory.
Photo: Richard Butler
"RF lenses are better," said Go Tokura, head of Canon's Imaging Group: "they are adjusted digitally, giving more consistent results."
These words tumbled around my head as the Tohoku Shinkansen raced us from Tokyo towards the Canon lens factory in Utsunomiya, about 110km (70mi) north of the capital.
I'd been fortunate enough to be seated at Tokura's table at dinner the night before. Despite the language barrier, we were able to talk a little about lenses over scribbled sample variance graphs. It had been clear he wasn't referring to digital distortion corrections, but I couldn't be totally sure what he meant. The Utsunomiya factory is home to both a production facility and much of Canon's lens development facilities, so I was hoping I'd find my answer there, in amongst the messages the company wanted to communicate.
The E5 series train of the Tohoku Shinkansen that took us from Tokyo to Utsunomiya.
Photo: Richard Butler
Canon describes Utsunomiya as its flagship lens facility, where it builds its broadcast lenses, as well as many of the high-end, L-series photographic lenses and optics for semiconductor manufacture. Canon also has factories in Taiwan and Malaysia, where many of its less expensive lenses are produced.
Canon says it builds its different products to different tolerances, with L-series super telephoto lenses requiring 15x the precision of the lenses in its point-and-shoot compacts, whereas broadcast lenses are made to 70x the precision and its industrial applications (including equipment for semiconductor lithography) demand tolerances 1500x finer.
That was a recurring aspect of everything we saw in the factory: different processes and varying technologies depending on the scale of production and the cost of the end products. And while, understandably, Canon wanted to demonstrate the highest precision work it does, it was the degree to which this know-how filters down and gets mimicked or adapted to large- and mass-production scales that interested me.
Varying aspherics
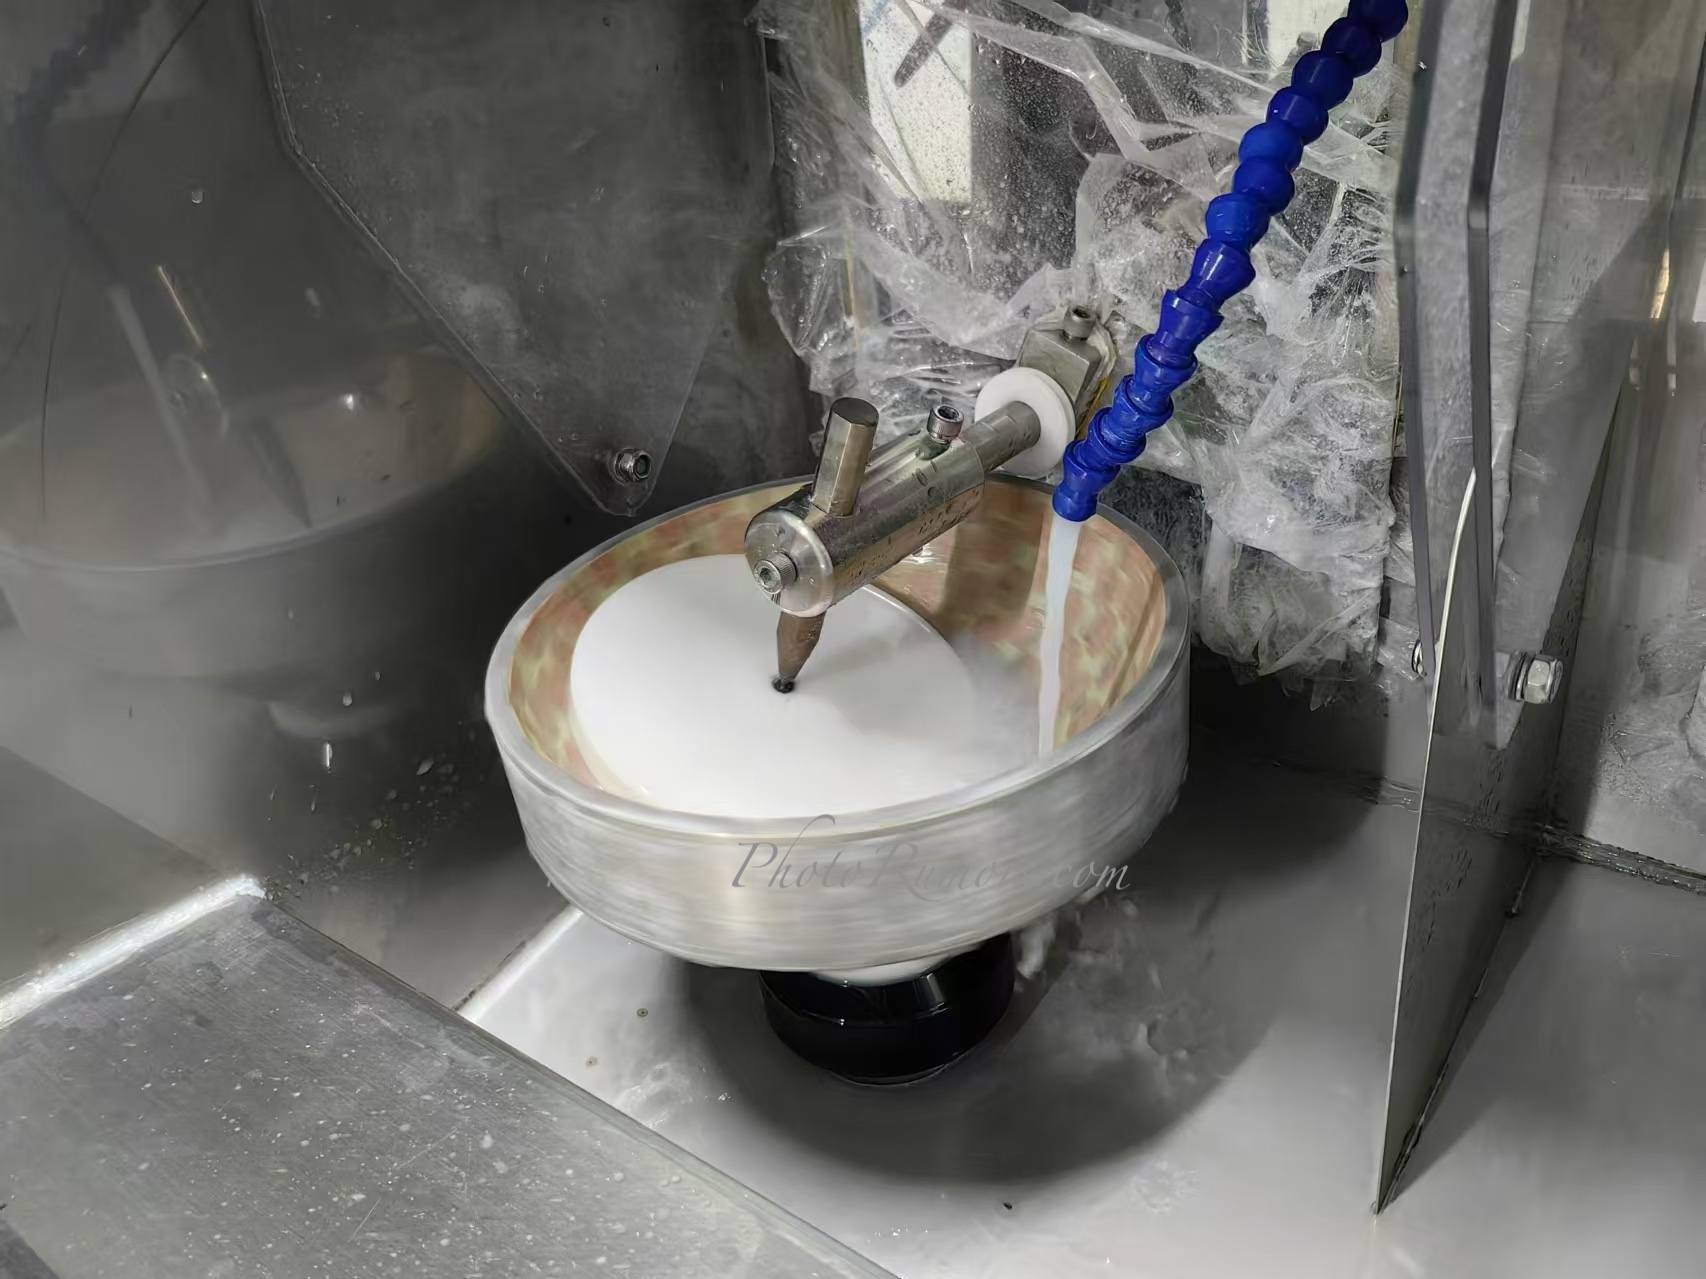
A Canon master craftsman demonstrates a glass element following machine polishing.
Photo: Richard Butler
For instance, the company says it uses four different types of aspherical elements in its different products. Sometimes the size of the element dictates which technology is used but the production scale: how many it has to make, also plays a critical role.
At one end of the scale are conventional ground glass aspherics, which need to be carefully polished to yield the perfect shape. To achieve the perfect shape, meticulous adjustments must be repeated over and over. It’s a delicate process that demands a significant amount of time and precision.
However, the process is too time-consuming and expensive to apply when you're making large numbers of lenses, so Canon has developed a series of other aspheric technologies. This includes glass molded aspherics, where molten glass is pressed between metal molds. As we this was being explained, it was impossible to ignore the heat and light radiating from the array of large metal and glass equipment stretching to fill the rest of the room. During the time it took to show us glass elements being polished, those molding machines continued their work, pressing and forming element after element.
The $2600 Canon RF50 F1.2L on the left includes a polished glass aspheric element as well as other, unspecified aspherics. The $470 Canon RF1.2 STM on the right uses a less expensive plastic molded aspheric that is more easily produced in large volumes.
Photo: Richard Butler
These glass-molded elements still need a degree or polishing, but can be created in much greater numbers. Sitting between these two technologies are what Canon calls "replica aspherics" where a molded resin layer is bonded onto a (compartively easy to make) spherical glass element. We were told this technology has been refined since it was first used on EF lenses, and is now able to deliver several times more deviation from spherical shapes and with several times more accuracy for elements used in the latest RF-mount designs.
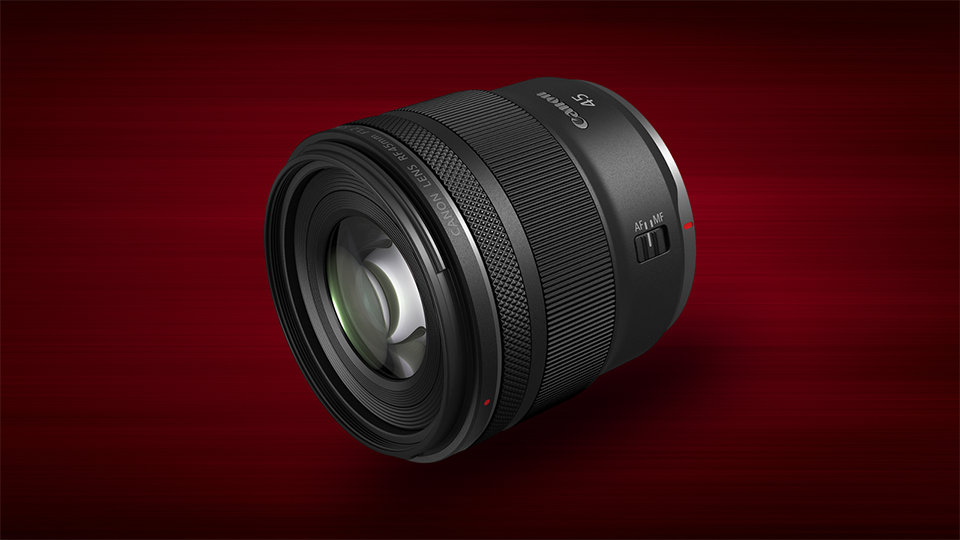
Plastic molded aspherics, used in compact camera lenses and the likes of the RF28mm F2.8 STM and the new RF45mm F1.2 STM are made in other facilities, allowing the use of complex elements in lower cost products.
The company says its lens polishers continue to get better, meaning the lens designers can design even more ambitious lenses and know they can be manufactured. But they also say they're constantly trying to recreate some of the skills in automated processes. And it's this ability to produce aspherics on larger scales, and improvements in the quality of those elements that is driving up the performance of a lot of the lenses we encounter.
Material advances
Much of the factory visit was built around showing-off details like this. For instance, Canon demonstrated the Blue Refractive optics glass that bends short wavelengths of light to a greater degree than longer wavelengths, allowing its use to correct axial chromatic aberrations (the colored fringes on out-of-focus highlights). The glass was first used in Canon's EF35mm F1.4 L II USM but has been the continuously developed since then, with an improved version being deployed in the recently released RF20mm F1.4 L VCM. As with the improvements in replica aspheric production, we were told how much more effective the new material was, but asked not to report the specific number.
Assembly and alignment
A Canon technician inspects a lens element before it's installed into an assembly of an RF100-300mm F2.8L IS USM.
Photo: Richard Butler
Towards the end of our tour, we followed the assembly process of the RF100-300mm F2.8L IS USM (there are videos on YouTube showing this part of the tour). It's a multi-stage process of assembling, aligning and adjusting lenses, with a series of technicians each focused on one step of the process, overseen by a highly experienced staff member known as a 'meister.'
Much of the process is done by hand, with checks of each process along the way. Then, at the end, one technician's job is to ensure the different groups are correctly aligned. The 100-300mm has 23 elements arranged in 18 groups, and each attempt to correct the alignment of one group or assembly can then highlight an issue with another, resulting in an iterative process, bringing the lens closer and closer to the designed performance level.
This way of working, with around six technicians and a meister, allows Canon to produce nine 100-300mm lenses per day. It has the advantage that the technicians can easily turn their attention to the construction of other lenses, when a batch of 100-300s is complete. The same workstations can also produce Canon's 400, 600, 800 and 1200mm RF lenses, along with the EF400mm F2.8L IS III USM, which we were told is the last EF ultra-tele still in production.
A workstation in which multiple assemblies are brought together as an RF100-300 F2.8L IS USM comes together.
Photo: Richard Butler
Further along on the tour we were shown a large rectangular box, the size my last flat in London, full of robotic arms and conveyor belts, that conducts many of the same steps: inserting and UV-bonding circuit ribbons into lens assemblies, adding rollers and springs on which internal cams can move, attaching and assembling the USM motors around the focus groups. Lens elements already positioned in plastic lens assemblies were fed in at one end of the machine and a series of robot arms carefully conduct each step of the process as the lens passes through cubicles within the box, each containing a machine playing the role of a single technician.
The machine we were shown was making EF 24-105mm F4L IS II USM lenses but can be reconfigured to make EF 16-35mm F2.8L III USM: the two lenses having been designed with similar layouts and a high degree of shared componentry to allow one series of robots to build either lens. Unlike the hand-made approach, the whole setup would need to be significantly redesigned and rebuilt to be able to assemble any other lens, at significant investment cost.
A technician iteratively adjusts the different elements of an RF100-300 F2.8L IS USM, carefully monitoring the ways in which each adjustment improves and degrades the performance.
Photo: Richard Butler
Alignment checking wasn't done within this machine, instead being conducted later, manually. But we were then whisked past a machine assembling RF lenses and told that this machine performs the iterative process of assessing and fine-tuning lens alignment, automatically. Here was the digital adjustment that Go Tokura had been referring to, when he said that RF-mount lenses are being built to a higher standard and with greater consistency: automated fine-tuning of alignment, in a way that was previously only possible for ultra high-end lenses produced by hand.
Trickle-down technology
It's not just Canon making constant improvements, of course. But it's interesting to get an insight into the small improvements that, cumulatively, have seen lenses improve dramatically over the last ten or so years. Aspherics becoming easier to make and hence more readily used in new lens designs, constant improvement of optical materials and advances in production processes all keep pushing lens performance upwards.
The visit to the Utsunomiya factory let me find out what the head of Canon's camera business, Go Tokura (left) had told me, the evening before.
Photo: Canon
The Utsunomiya factory is primarily focused on very high-end lenses, but what stood out to me is the way Canon has tried to adapt its highest-precision but labor-intensive manufacturing methods so that some of those benefits can appear in lenses we can actually afford. I could see why Tokura wanted to share his enthusiasm for that.
This article was prepared as part of visit to Japan paid for by Canon. You can read more about it, including insights from senior managers, in this original article.
DxO Labs released 1,078 new Optics Modules for the latest cameras and lenses from Nikon, Canon, Ricoh, Fujifilm, Sigma, Tamron, Tokina, Samyang, Voigtländer, and Laowa (with these new Modules, the DxO library expands to 106,937):
Meet the iT32 iFlash Camera Flash & X5 TTL Wireless Flash Trigger — a modular lighting system built for ultimate versatility and efficiency. When paired with different X5 versions, one iT32 flash body seamlessly adapts to Canon, Nikon, Sony, Fujifilm, and OM System cameras, offering full TTL and HSS support across brands. The X5 functions as both a hotshoe and wireless trigger, enabling instant transitions between on-camera use, off-camera freedom, and complex multi-light setups. Compact yet powerful, the iT32 & X5 combine magnetic modularity, cross-brand compatibility, and Godox 2.4GHz wireless integration—empowering photographers to shape light effortlessly, anytime and anywhere.
One System, Built for All
The iT32 & X5 offer a universal solution for photographers working across different camera systems. Its interchangeable magnetic X5 hotshoe allows instant switching between brands by simply changing the X5 version. This flexible design helps photographers focus more on creativity and less on equipment compatibility.
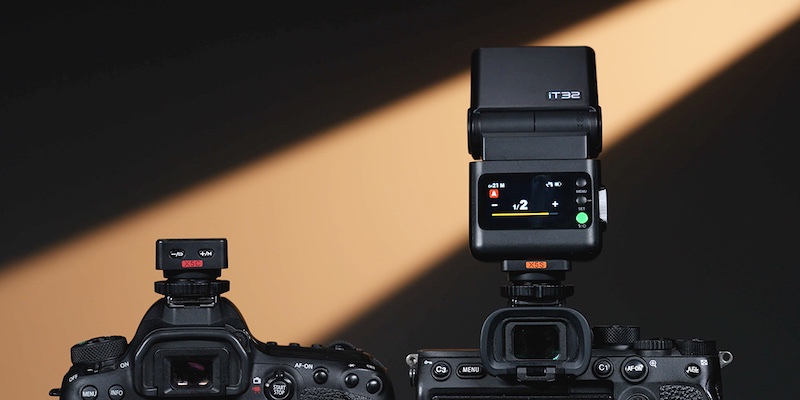
Dual Identity: Hotshoe & Trigger in One
X5 serves both as a hotshoe mount and a wireless transmitter, enabling smooth transitions between on-camera and off-camera use. When attached to iT32, it functions as the hotshoe for on-camera shooting; once detached, it automatically switches to trigger mode, wirelessly controlling iT32 or other Godox Wireless X System flashes.
Effortless Multi-Light Sync
Equipped with a built-in 2.4GHz receiver in the iT32 and a 2.4GHz sender in the X5, the system ensures instant wireless communication without manual pairing. When used together, iT32 and X5 act as a master unit to trigger multiple Godox flashes simultaneously. When separated, the X5 can still control the iT32 and other flashes within the Godox 2.4GHz wireless X system, making multi-light setups simple, fast, and reliable.
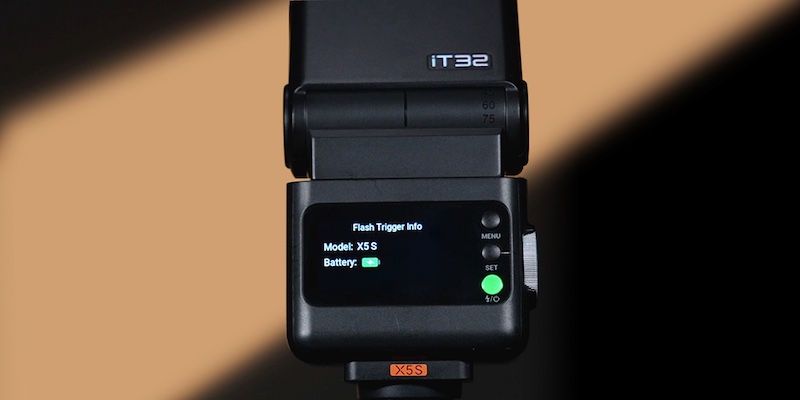
Intelligent Recognition and Real-Time Display
The iT32 automatically identifies the attached X5 version, displaying key information such as model type, battery level, and charging status on its screen. This smart detection ensures photographers always stay aware of system status, minimizing errors and keeping shooting sessions smooth and controlled.
Magnetic Mounting, Fast and Secure
The magnetic interface between iT32 and X5 ensures a stable, one-click connection that’s firm yet quick to detach. Compared with traditional locking mechanisms, it greatly speeds up setup while maintaining reliability, allowing photographers to switch modes fluidly and capture every moment with ease.
Refined Design, Built for Practical Use
Intuitive Touchscreen Control
Flexible Flash Head
Built-in Reflector and Diffuser
USB-C Charging
Professional Performance, Seamless Compatibility
Advanced Flash Functions
Godox 2.4GHz Wireless Ecosystem
Magnetic Accessories for Creative Expansion
LED Modeling Light
Recap:
Overview: The Godox iT32 iFlash and X5 TTL Wireless Flash Trigger form a modular lighting system where the iT32 is a compact flash body, and the X5 is an interchangeable hotshoe mount that doubles as a wireless trigger, supporting TTL and HSS across multiple camera brands (Canon, Nikon, Sony, Fujifilm, OM System).
Modular Design: Features a magnetic interface for quick one-click attachment/detachment of the X5, allowing seamless switching between brands without manual pairing; the system automatically recognizes the X5 version and displays status info like battery level and model type on the iT32 screen.
Dual Functionality of X5: Acts as an on-camera hotshoe when attached to the iT32 for direct shooting; detaches to function as a wireless transmitter for off-camera control of the iT32 or other Godox Wireless X System flashes.
Wireless Capabilities: Built-in 2.4GHz radio transmission for sender/receiver roles; supports up to 80m range (20m in separated triggering), 32 channels, 1-99 IDs, and multiple groups (A/B/C/D, with variations by model); enables multi-light setups and acts as a master unit.
Flash Modes and Controls: Supports TTL auto flash, manual flash, multi-flash (up to 100 times at 100Hz), flash exposure compensation (±3 stops in 1/3 increments), high-speed sync (up to 1/8000s, or 1/80000s with Sony global shutter on X5S model), first/second-curtain sync, and global shutter sync (X5S only).
Additional Features: Includes intuitive touchscreen control, flexible flash head, built-in reflector and diffuser, LED modeling light, 2.5mm sync cord port, USB-C charging, power-saving standby/auto-off, and compatibility with magnetic accessories for creative lighting.
Technical Specs: Guide Number GN18 (ISO 100, meters at full power); flash duration 1/1000s to 1/30000s; recycle time approx. 1.5s at full power; approx. 510 full-power flashes; iT32 battery 7.4V/900mAh lithium, X5 3.8V/100mAh lithium.
Dimensions and Weight: iT32 measures 56 × 39 × 101mm and weighs 169g; X5 measures approx. 1.26 × 1.26 × 1.06 inches and weighs 23g.
You can now easily switch between mobile and desktop editing without losing progress.
Restoration — Bring Old Photos Back to Life
Restore memories with just a few clicks. Remove scratches, improve clarity, and recover details from aged photos while preserving their authentic look and feel.
Light Depth — Next-Generation Light Control
Light Depth replaces Relight AI as a more advanced and precise tool. Shape the depth, atmosphere, and focus of your image with fine-tuned lighting adjustments.
Spaces — Create and Share Beautiful Web Galleries
Showcases your best and most meaningful images through personal online galleries. Stunning galleries, easy sharing, and no design skills needed — just choose, upload, and share your story with the world.
Panasonic Lumix Pro Services will be ending in eight European countries and the United Kingdom as of November 30, 2025. The company shared the news on the Lumix Pro support websites for each respective country, as reported by Petapixel.
"We will be closing our LUMIX PRO service on 30 November 2025."
The support sites have a banner stating, "We will be closing our LUMIX PRO service on 30 November 2025. This step allows us to refocus on new activities designed to better support our customers and creators." It goes on to explain that current members will be able to log in and manage their accounts until December 31, 2025. New registrations haven't been available since September 18, 2025, according to the sites.
Lumix Pro Services is a membership program for Panasonic users that offers prioritized support, extended warranties and other benefits. The program is aimed at professionals, as it helps users get a working camera in their hands faster than without the Pro Services program. This can take the form of faster repairs, loaner equipment or both.
The Lumix Pro Services program in the US has a paid tier with added benefits. Image: Panasonic
The US Pro Lumix Services membership has two tiers: Red and Platinum. The Red tier is free and promises service turnaround times of three to five business days and loaner equipment for repairs that require more than seven business days. The Platinum tier costs $199 per year, but brings additional benefits, including a two-day turnaround time on repairs and loaner gear if the repair takes longer than that. It also offers a member-only hotline, 20% off out-of-warranty repairs, free sensor or EVF cleaning for up to four cameras per year and more.
In the UK and most EU countries, however, Lumix Pro Services was a single-tier membership that was completely free and unlimited. It only required the ownership of one Lumix S camera body. Members then got a seven-day turnaround on repairs at no charge. It offered worthwhile value to Lumix users, but unfortunately, it will no longer be available in the previously mentioned EU countries or the UK.
We reached out to a Panasonic spokesperson, who made it clear that there are no planned changes for Lumix Pro Services in the United States. They weren't able to provide any additional insight into changes in the other countries, however.
When you use DPReview links to buy products, the site may earn a commission.
Canon RF45 F.2 STM | F1.2 | 1/320 sec | ISO 100 Processed with Adobe Camera Raw, distortion profile applied, vignetting correction off
Photo: Richard Butler
The Canon RF45mm F1.2 STM is the company's unexpectedly bright addition to its budget STM range of lenses. It offers a super-bright aperture with a near 'normal' focal length, in a package costing under $/£/€500
It's the same basic idea as Nikon's 35 and 50mm F1.4 lenses: a more compact, more affordable fast prime for full frame. Not necessarily offering the same levels of sharpness as the more expensive options, instead allowing some imperfection in the name of affordability and 'character.'
But whereas the Nikon releases were met with some confusion, as the F1.4 lenses unexpectedly sit below a series of sharper but slower F1.8 lenses, Canon's eye-catching use of a slightly brighter aperture seems to have grabbed more attention.
But how does it perform? We took it a pre-production copy and shot it on the highest-resolution RF-mount body currently available, to see how it looks.
The first thing you'll notice is significant vignetting, which can be corrected to some degree by the camera's JPEG engine. As you might also expect from such a bright lens with such a small front element, there's also a fair degree of mechanical vignetting in the bokeh, giving a cats' eye effect.
The lens can be pretty sharp, without the dreaminess that was common on DSLR-era F1.2 lenses at wider apertures, but the slightly slow, autofocus that you can feel shuffling back and forth when in continuous AF may be contributing to not all the portraits being as sharp as they could be.
See for yourself whether this fast, compact normal is worth the trade-offs.
With thanks to Lensrentals for the loan of the Canon EOS R5 II used for this gallery.
Please do not reproduce any of these images on a website or any newsletter/magazine without prior permission (see our copyright page). We make the originals available for private users to download to their own machines for personal examination or printing (in conjunction with this review); we do so in good faith, so please don't abuse it.
Sample gallery
This widget is not optimized for RSS feed readers. Click here to open it in a new browser window / tab.
Godox has announced a modular lighting system designed for photographers who use multiple camera systems. The system consists of the iT32 Mini Flash and the X5 Wireless Flash Trigger, which acts as both an interchangeable hot shoe and a wireless trigger. It allows users to switch seamlessly between camera brands and supports both on- and off-camera use.
The standout feature of the new lighting system is the modular, versatile design. It uses a magnetic interface to connect the X5 to the iT32, allowing for speedy setup. The X5 comes in versions for every major camera system, so cross-brand shooters can pick up multiple versions of the X5 instead of needing separate flash units for each camera.
The iT32 flash unit can automatically detect the X5 model. Image: Godox
When attached, the iT32 flash is able to automatically detect the X5 version. The flash will then display the model type, battery level and charging status on the screen. When detached from a flash unit, the X5 automatically switches to trigger mode and can wirelessly control the iT32 and other Godox Wireless X System flashes. That means users can use the X5 for multi-light setups. Because the iT32 does not have its own hot shoe, users will need at least one X5 module for on-camera use.
Beyond the modular design, the iT32 flash is pretty standard. It features a touchscreen display, a built-in reflector and diffuser and an LED modeling light. The flash head can rotate 270° and tilt 90°. It offers a guide number of 18 meters (59') and users can control it wirelessly from up to 80 meters (263') away. However, the range for separated triggering drops to 20 meters (66'). It supports TTL and manual control.
The iT32 offers fast sync speeds of up to 1/8000 sec, or 1/80,000 sec with Sony cameras equipped with a global shutter. The flash duration can be as short as 1/30,000 sec, and Godox promises a 1.5-second recycle time and up to 510 full-power flashes. It recharges via USB-C.
The Godox iT32 Mini Flash & X5 TTL Wireless Flash Trigger are both available for pre-order now. The iT32 costs $79, while the X5 for Canon, Fujifilm, Nikon and Panasonic/OM System cameras costs $20. The Sony X5 version costs slightly more at $25. You can also purchase it as a kit that includes the iT32 and one X5 for $99 ($104 for the Sony version).
Rivers are the transportation corridors of the Amazon, where roads are few and far between. I captured this photo of a riverboat pushing a barge loaded with cattle in Brazil while traveling the entire length of the Amazon River by boat.
Canon PowerShot G7 | F4 | 1/200 sec. | ISO 100 Photo: Dale Baskin
This month, we're celebrating the power and creativity of the compact camera. Share your best shots taken with a camera with a built-in lens – no interchangeable lenses allowed! Our favorite images will be featured in an article on DPReview later this month. (Please note that photos taken with smartphones, drones or tablets do not qualify for this challenge.)
Photos can be submitted between Sunday, November 16, and Saturday, November 22 (GMT). The challenge is open to photos captured at any time.
Important: Images MUST include a title and a caption of at least 25 words to be eligible. We need to be able to share the story behind your photo. We will consider both photos and captions when selecting our winners, so make sure to tell us that story!
Visit the challenge page to read the full rules and to submit your photos for consideration as soon as the challenge opens.