Additional information on the two upcoming Sony professional video cameras I reported a few days ago:
Sony will release the Z380 in August and a new 12K sensor full-frame interchangeable lens video camera during IBC 2025 in September
Sony Z380
The Sony Z380 is a newly developed 3CMOS BIONZ XR XDCAM camcorder that features internal variable ND, which supports 4K120p recording in all RGB Tricolor.
The image quality of the Z380 is significantly higher than that of the Sony Z280, thanks to the BIONZ XR, AI unit, and new high-speed, high-saturation, and high-sensitivity Exmor RS 3CMOS.
Based on test information, the image quality of the PXW-Z380 is superior to that of the PXW-Z200. It has a low base ISO and a high sensitivity mode ISO, which is consistent with the FX6.
The Z380's autofocus performance is a vast improvement over the previous generation Z280, relieving the operator of the pressure of focusing and allowing them to shift their attention entirely to composition and following the subject.
Sony FX8
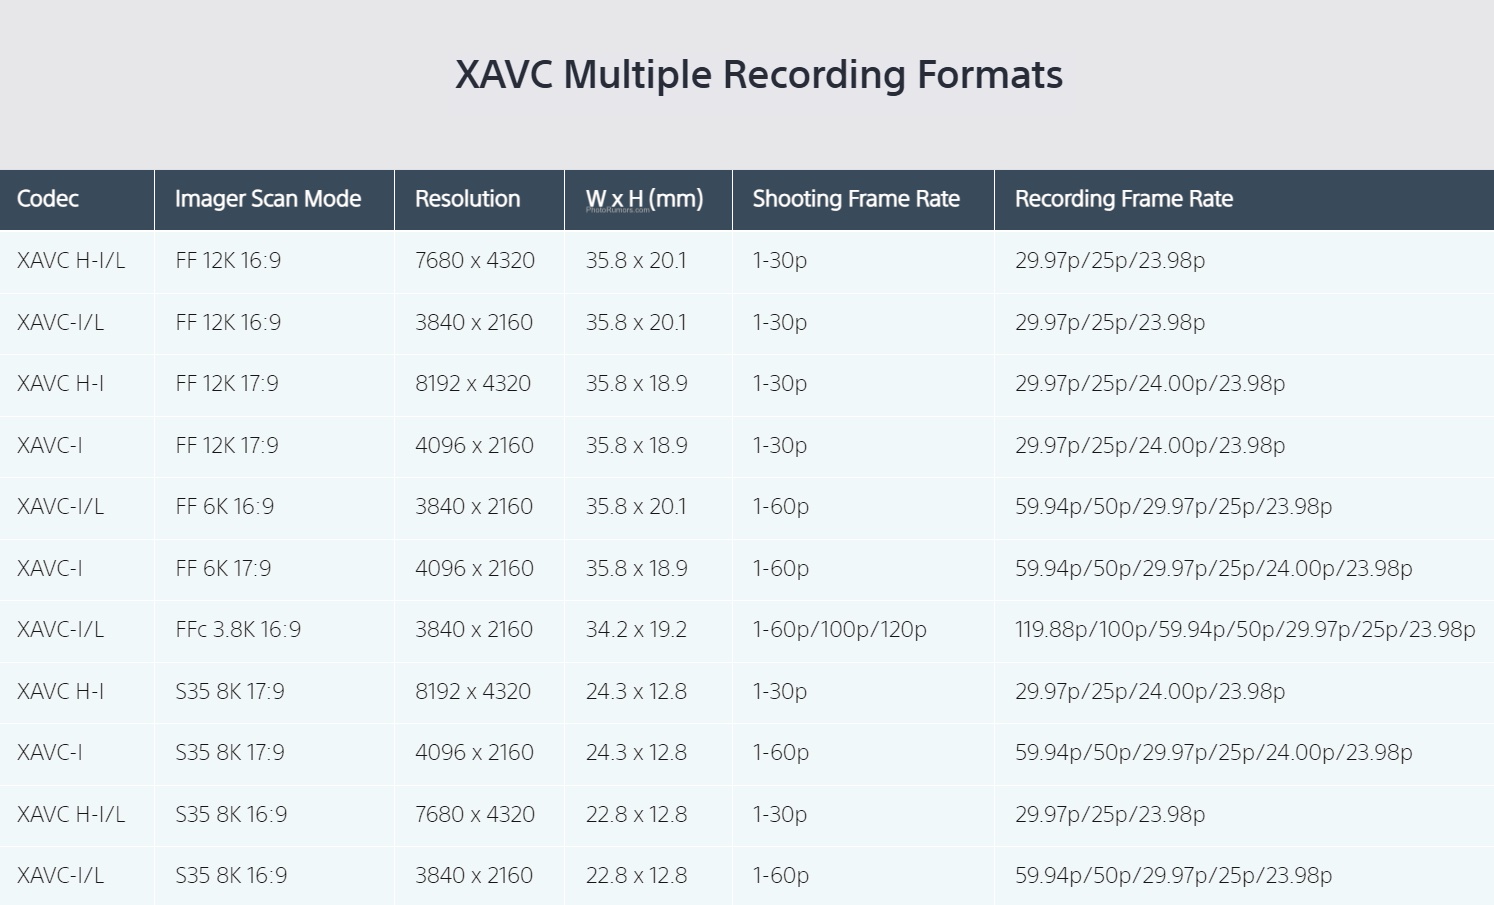
The New full-frame product, named FX8, will feature a resolution of 12K, which is four times that of the FX9. It uses a 16:9 cropped 12K full-frame (3:2 aspect ratio, 96M total pixels) CMOS image sensor.
It doesn't have internal RAW or X-OCN recording capabilities. Like the FX6, it outputs full-frame crop 3.8K 16-bit RAW to a third-party recorder via SDI at a maximum of 120fps.
The only recording format available is XAVC, which offers 8K30p or 4K60p recording in full-frame and S35 modes. And the full-frame crop 3.8K mode provides 4K120p recording.
The readout specifications are not as good as the URSA Cine 12K, as the processor limits it, but it is still a reliable and easy-to-use camcorder that offers high-speed 4K (for FX6 users) and full-frame/Super35 dual-format 8K30p/4K60p (for FX9 users) for creative freedom.
Underwater photography is a challenging genre to tackle. But the complexity is significantly amplified when you add subjects that are only a few millimeters large, and pitch-black nighttime conditions. Yet that's exactly what photographer and diver Ryo Minemizu is doing with his nighttime dives, also called blackwater dives. Minemizu took the time to answer some questions while on a sailboat in the Pacific Ocean, providing insight into how he captures incredibly unique creatures in the ocean.
When Minemizu started taking photographs while diving, he simply wanted to capture beautiful underwater landscapes and life forms easily visible to the naked eye. Eventually, though, he became more interested in what wasn't obvious, seeking out things that were often overlooked and fleeting moments that didn't get attention. "I was drawn not only to their beauty, but also to the strength and skill required for survival, and the deep significance of life itself," he said.
Polka dot ribbon fish.
Photo: Ryo Minemizu
To find those fleeting moments, Minemizu has to dive in locations and times when most aren't venturing into the sea. Night dives opened up a new perspective, allowing him to capture creatures in, quite literally, new light. Minemizu also decided to focus on creatures that don't typically get attention. But that makes for tricky photographic scenarios. "Blackwater dive photography is arguably one of the most challenging and relatively new frontiers in the world of underwater macro photography," he said.
"Blackwater dive photography is arguably one of the most challenging and relatively new frontiers in the world of underwater macro photography"
The dark conditions are perhaps the most obvious challenge. Minemizu says that for blackwater dives, a rope with multiple lights attached is suspended beneath a buoy, but its main purpose is safety-related, not for photography. In fact, "lights suspended from the buoy should be as dim as possible to avoid any negative impact on the natural environment," he explains. Instead, he said that divers mainly search for subjects in complete darkness, only using handheld underwater lights as they find them.
A string of lights hangs from a buoy, but only for safety reasons.
Photo: Ryo Minemizu
When it is time to light up a subject, Minemizu relies on five lights: two Marelux Apollo III 2.0 strobes for ultra-high-speed flash photography, two RGBlue (Super Natural Color) lights with high color rendering for use as target lights and for video recording in the dark ocean, and one INON LE-250 light used to illuminate subjects that exhibit phototaxis (when an organism moves in response to light). He uses the maximum flash sync speed to freeze movement, since the tiny creatures are constantly in motion. But it's not a set it and forget it situation. "Both the exposure and flash intensity are manually adjusted on site to suit the transparency of each subject," he explains.
While light is necessary in pitch-dark conditions, it can also have negative impacts. "Each subject has its own unique characteristics and behaviors," Minemizu explained. "For example, some would close their fins and begin to swim away the moment a light is pointed at them or quickly vanish into the darkness." As a result, he has to anticipate the subject's next move, rapidly assess how it will react to light and how it might behave, and make on-the-spot decisions about lighting. "This involves choosing the right color tone, the best angle for illumination and the appropriate light intensity," he said.
The size of his subjects is another significant challenge. Minemizu is primarily focused on photographing plankton, fish larvae and other minuscule creatures that only measure a few millimeters to a few centimeters. To show them at a large enough scale, Minemizu has to get very close to them. But the water between the lens and the subject adds more complexity. "Even small currents created during movement can disturb the subject’s posture, especially when operating near the minimum focusing distance," he explained.
Zoea larva of the scarlet shrimp.
Photo: Ryo Minemizu
The constant motion also makes it difficult to find and track subjects. "One of the most important tasks is to find the subject through the viewfinder and keep track of it without losing sight," Minemizu said. To help with that, he explains that a standard macro lens with a shorter focal length (around a 50 to 60mm equiv lens) is more effective than longer lenses. Focus is also a unique challenge. Keeping an animal's eye in focus while it moves around on dry land can be difficult, but imagine keeping that critical focus on a tiny subject floating around in the dark while underwater. After all, both Minemizu and the subject are moving in the current, so he only gets a brief window to engage.
Naturally, there's the gear component to consider as well. Minemizu uses Nauticam housing and the Canon EOS R5 with the EF-EOS R converter. For lenses, he sticks with the EF-S 35mm F2.8 Macro IS STM and EF-S 60mm F2.8 Macro USM lenses. He's opted for APS-C lenses because the equivalent focal lengths are ideal for his subject matter, especially the 35mm lens. He says he's eagerly awaiting an "RF-mount standard macro lens that fully takes advantage of a full-frame sensor’s capabilities," however.
Minemizu's setup weighs 14kg (31lbs), but is perfectly balanced for working underwater.
Photo: Ryo Minemizu
Minemizu says that on land, his setup weighs 14 kilograms (about 31 pounds). To manage that heft underwater, he adjusts the balance and weight using float arms so the camera is perfectly level and neutrally buoyant, meaning it isn't sinking or floating. Those float arms are attached to the top and bottom, making it easier to rotate the camera vertically.
Beyond all the technical challenges, blackwater dives introduce physical risk. For safety reasons, Minemizu says he limits his dives to 25 meters (82') at night, though most are between 10 and 20 meters (32.8 to 65.6'). Occasionally, the subject he's photographing will begin to descend to deeper water, and he'll need to decide whether to follow or not. "Following it too far can become dangerous," he said. "In such cases, I need to maintain discipline and accept that there are moments I must let go."
Larval margined flying fish.
Photo: Ryo Minemizu
While Minemizu's images are beautiful, they also contribute to science. Some of the subjects he's photographed are entirely new scientific observations. "In order to recognize such cases on the spot, it is essential for me to have a broad knowledge of plankton, acquired through my own study," said Minemizu. He is working in collaboration with scientists from the Smithsonian Institution and conducting joint studies with universities and specialists studying jellyfish, cephalopod larvae, crustacean larvae and the larvae of various other invertebrates.
You can see more of Minemizu's incredible images on his website.
Sample gallery
This widget is not optimized for RSS feed readers. Click here to open it in a new browser window / tab.
When you use DPReview links to buy products, the site may earn a commission.
Photo: Richard Butler
Image Comparison
This widget is not optimized for RSS feed readers. Click here to open it in a new browser window / tab.
With the S1II, Panasonic continues the tradition of offering "open gate" recording that uses the entire sensor area, which, like with the S5II, produces a roughly 6K 3:2 image (though the S1II's rolling shutter is substantially faster). This mode provides great levels of detail and more flexibility in post; if you're working on a 4K timeline, you have a fair amount of room to reframe a shot, and you can use the same footage for both landscape and vertical output.
The camera also has a 5.1K open gate mode with a little less resolution and detail. That cuts down on its flexibility, but allows for a first for full-frame Lumix cameras: open gate recording at 60p. The 5.1K 24p and 60p modes apparently have the same level of detail.
The camera's 4K modes are all oversampled from 6K capture, and have similar levels of detail to those of competitors like the Z6III and EOS R6 II, even at up to 60p. The S1II can't quite manage full-width 4K 120p, but the mode only requires a 1.24x crop, rather than a 1.5x crop like with the Z6III. So while there's some reduction in detail compared to the slower framerates, it does capture a tad more detail than the Nikon, and will come with a smaller change to your field of view.
If you don't prefer oversampling, the S1II also offers a 16:9 5.9K capture mode and a 1.89:1 5.8K capture mode, both of which are available at up to 60p. The extra resolution offers a bit more detail and more flexibility in post, though not quite as much as the 6K open-gate mode.
Raw video
Like the S1RII, the S1II can record ProRes Raw internally, capturing a native 5.8K region of the sensor at up to 30p, or a native DCI 4K region at up to 60p. This mode may be useful for those on professional shoots that need the utmost control over their footage, but for reasons we explained in the S1RII writeup, Raw video isn't something that most shooters will likely find useful. In short, it doesn't offer the same benefits that stills shooters expect from Raw images versus JPEG ones, and it will require a lot of post-processing work, especially if you're using modern mirrorless lenses that have geometric distortion correction as part of their optical formula, as Panasonic's implementation of ProRes Raw doesn't embed them.
The S1II is absolutely bursting with video modes, so this overview is far from comprehensive. Our chart detailing them in our initial review covers 166 different options, and it isn't even a complete list of all the configurations you can have. However, our testing shows that it's very capable of producing high-quality footage, even at fast framerates. Combine that with all the video assistance features that Panasonic includes, and it's one of the most flexible hybrid shooters we've seen.
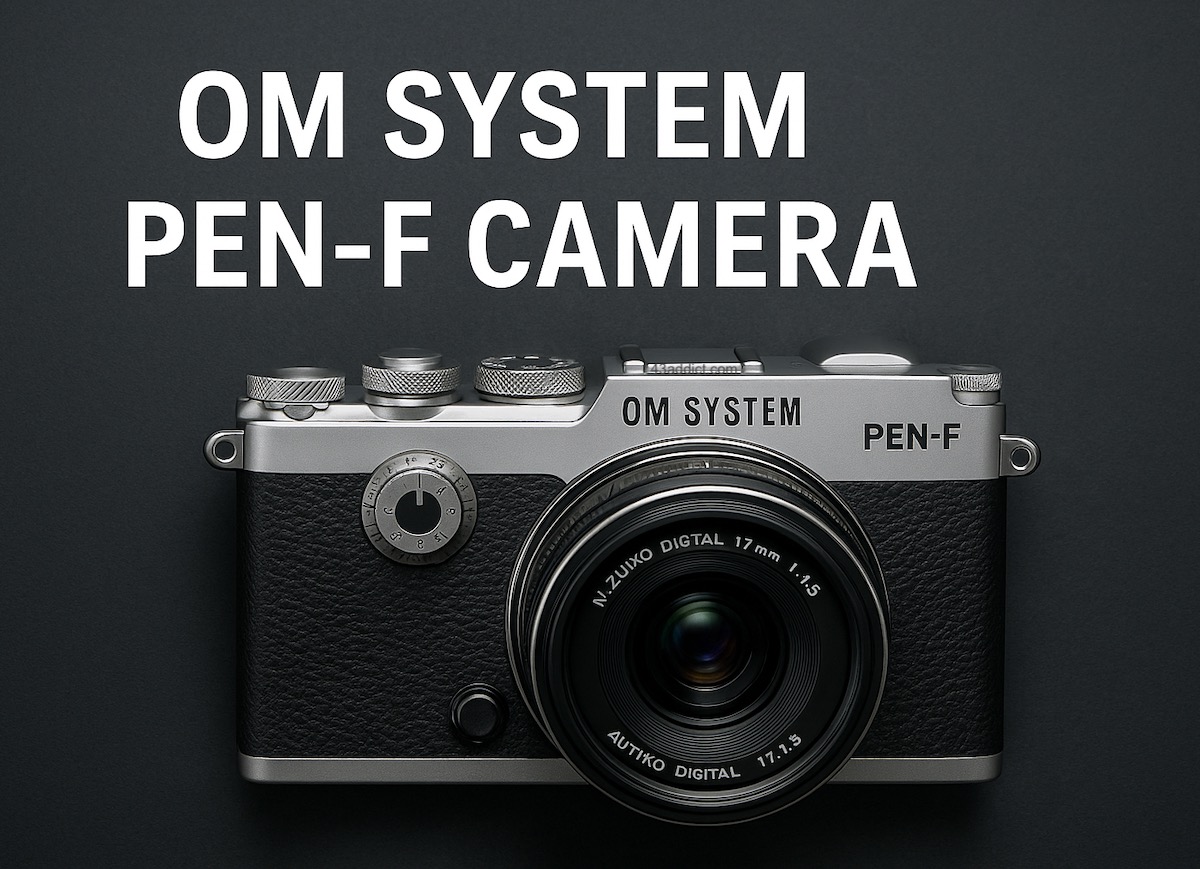
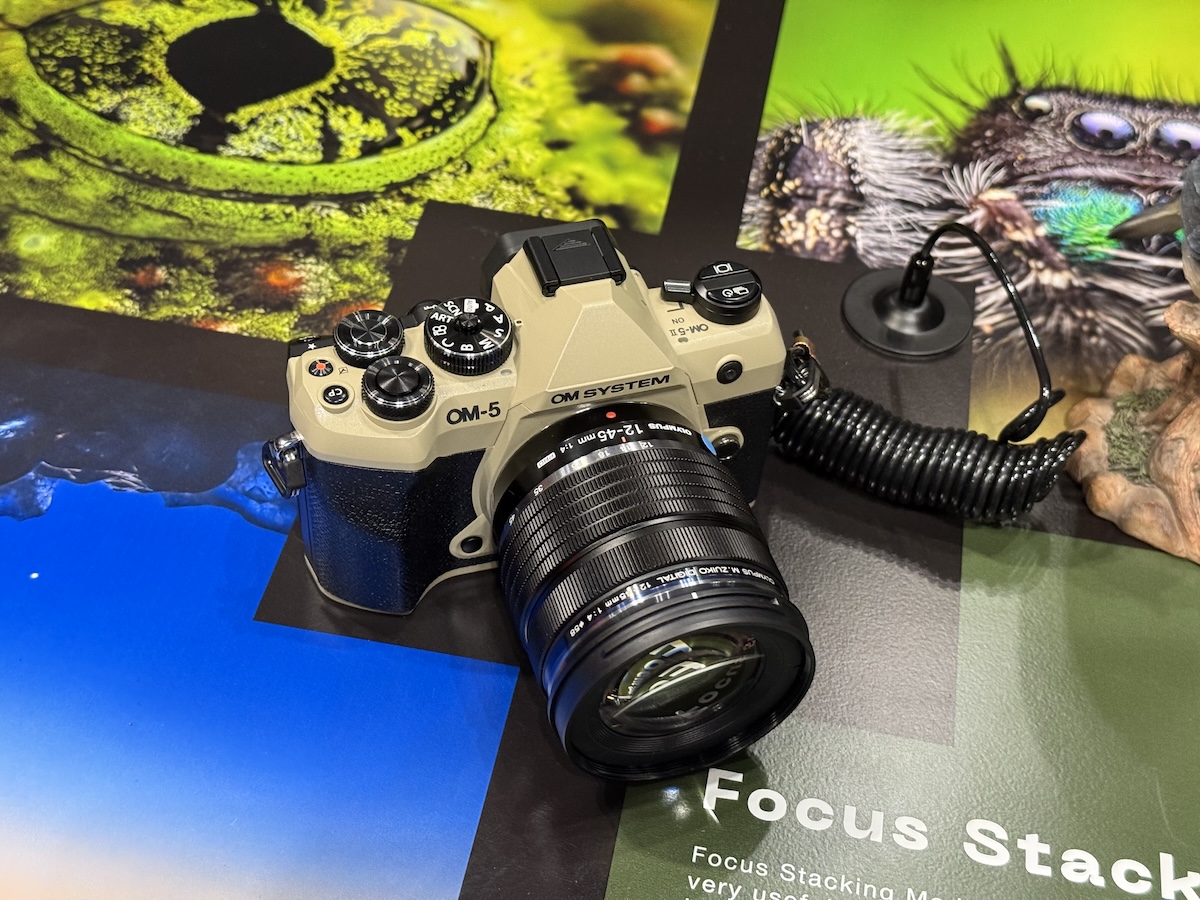
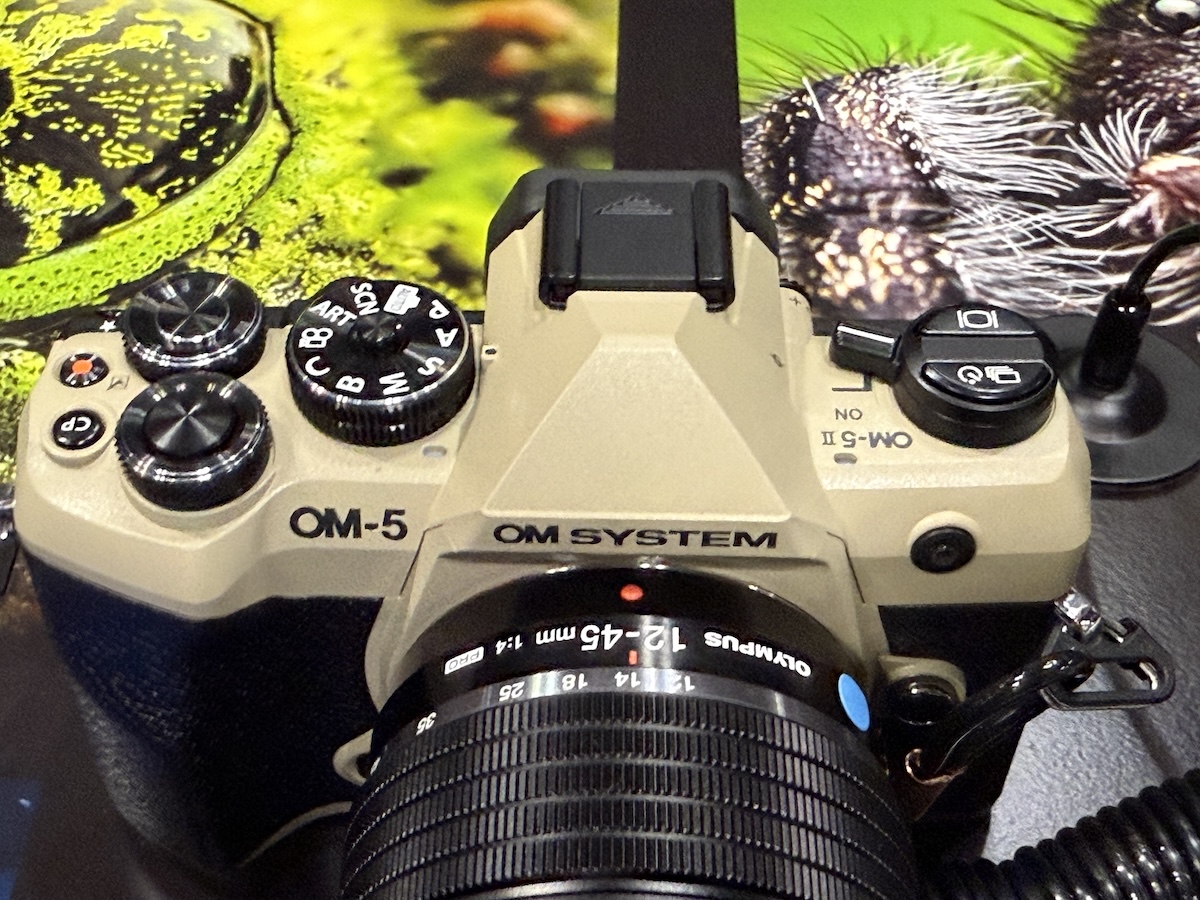
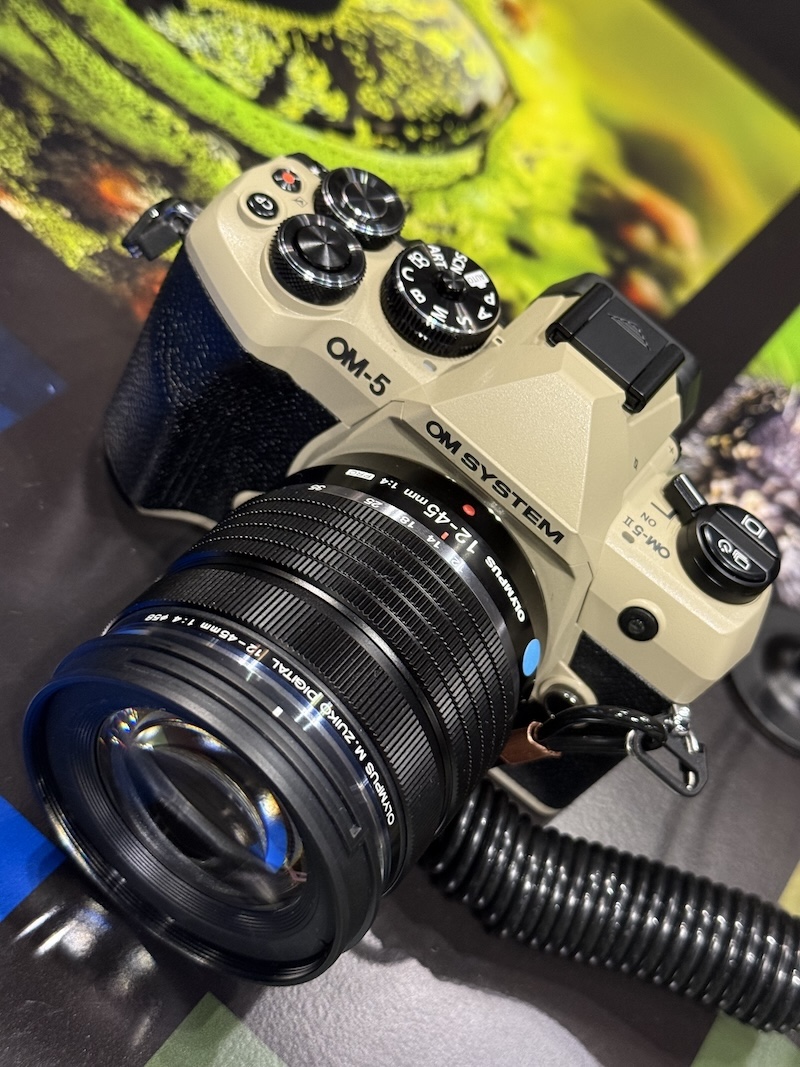
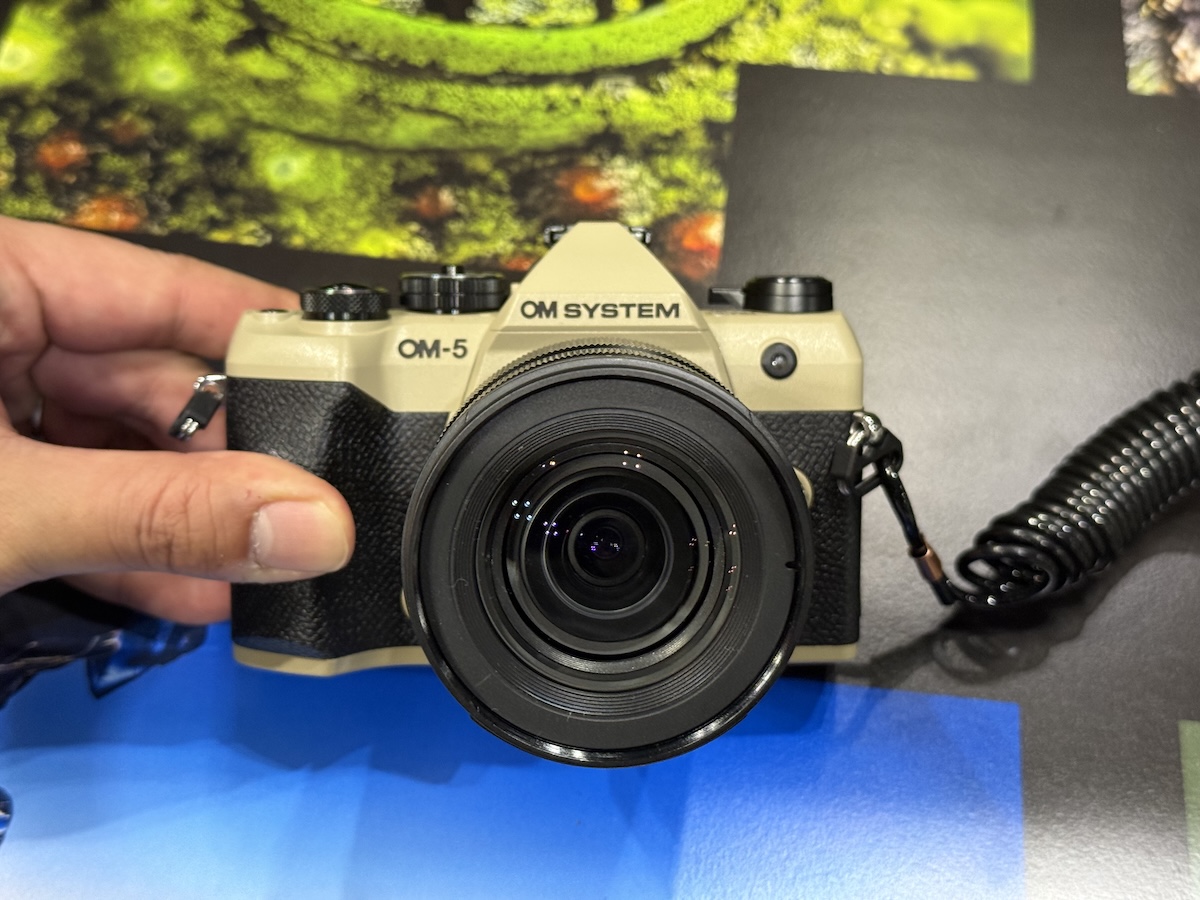
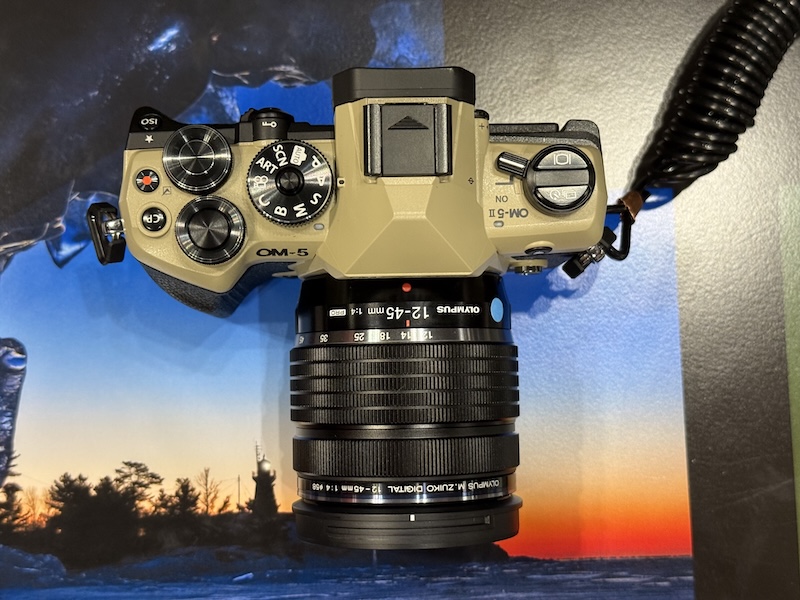
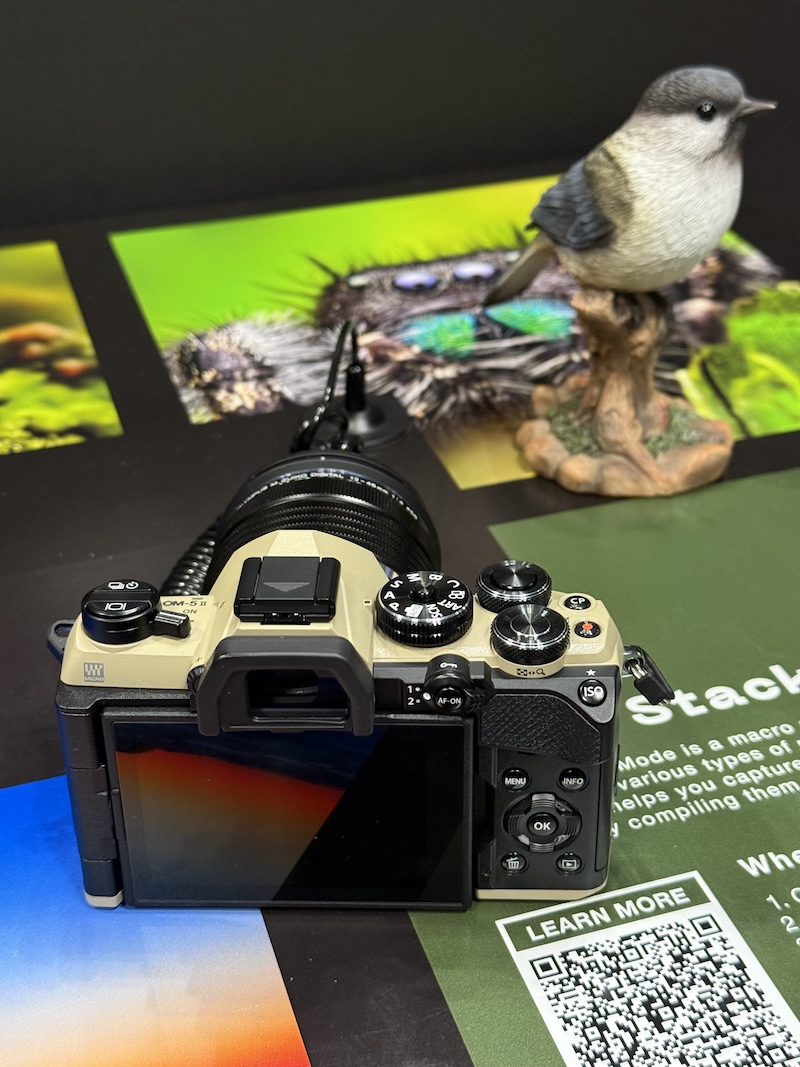
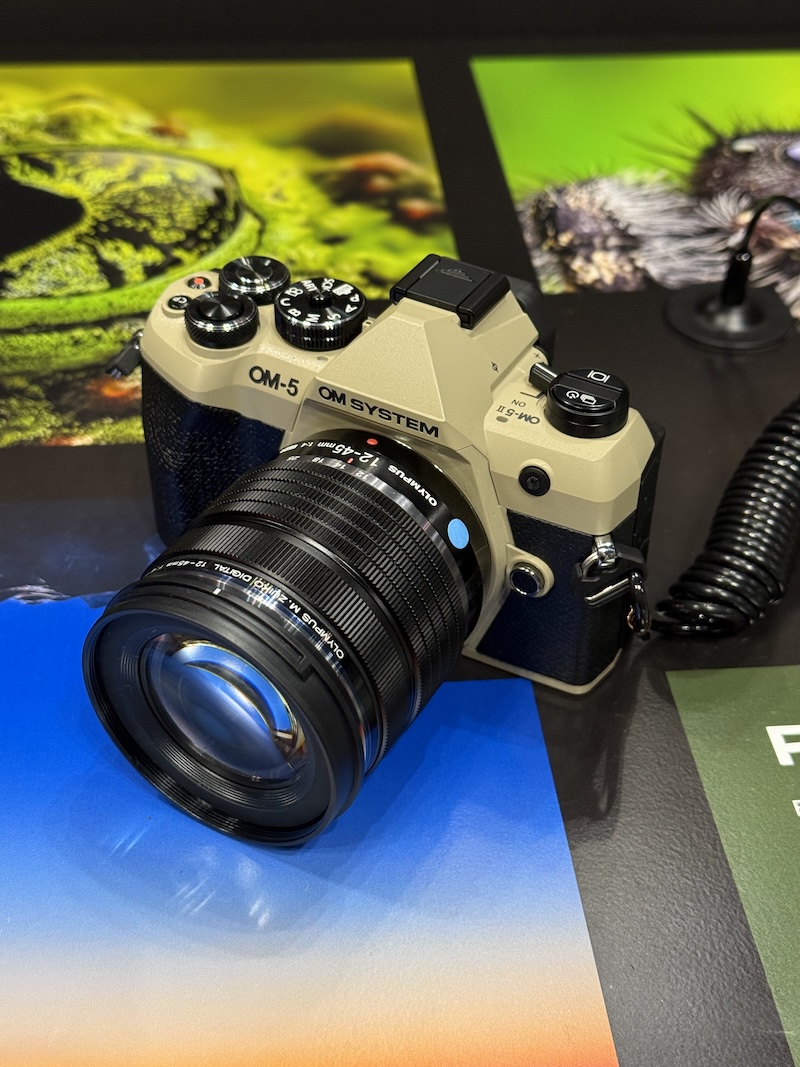
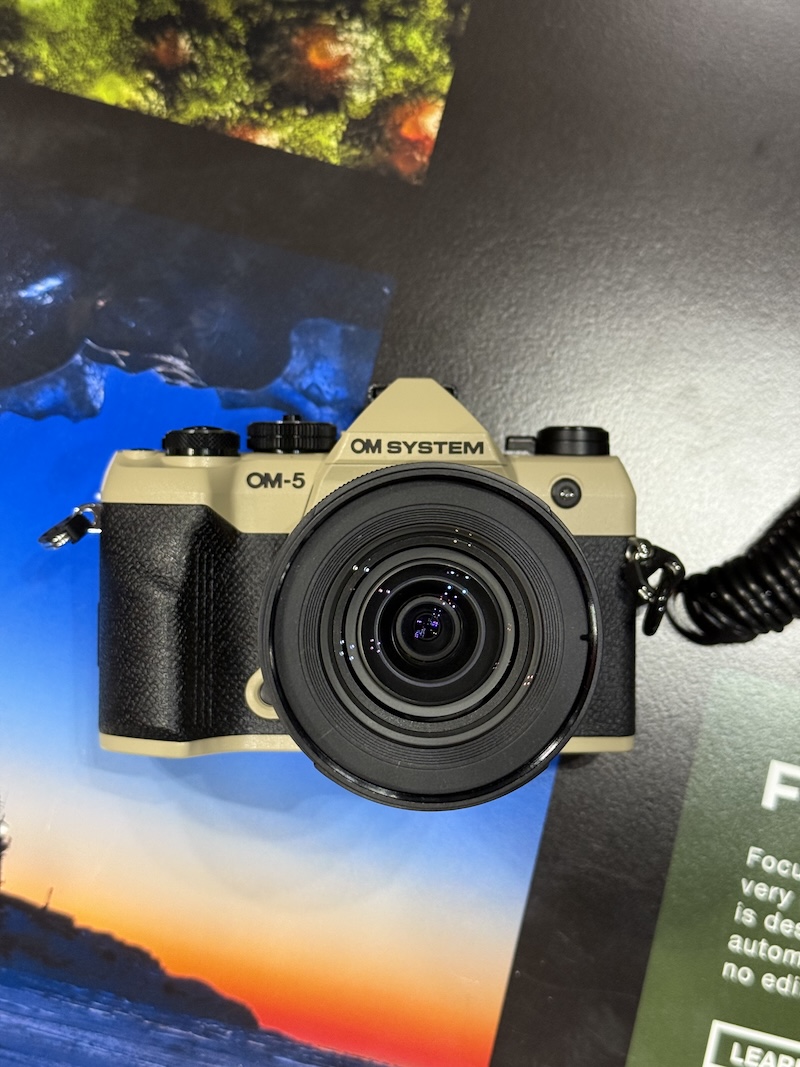
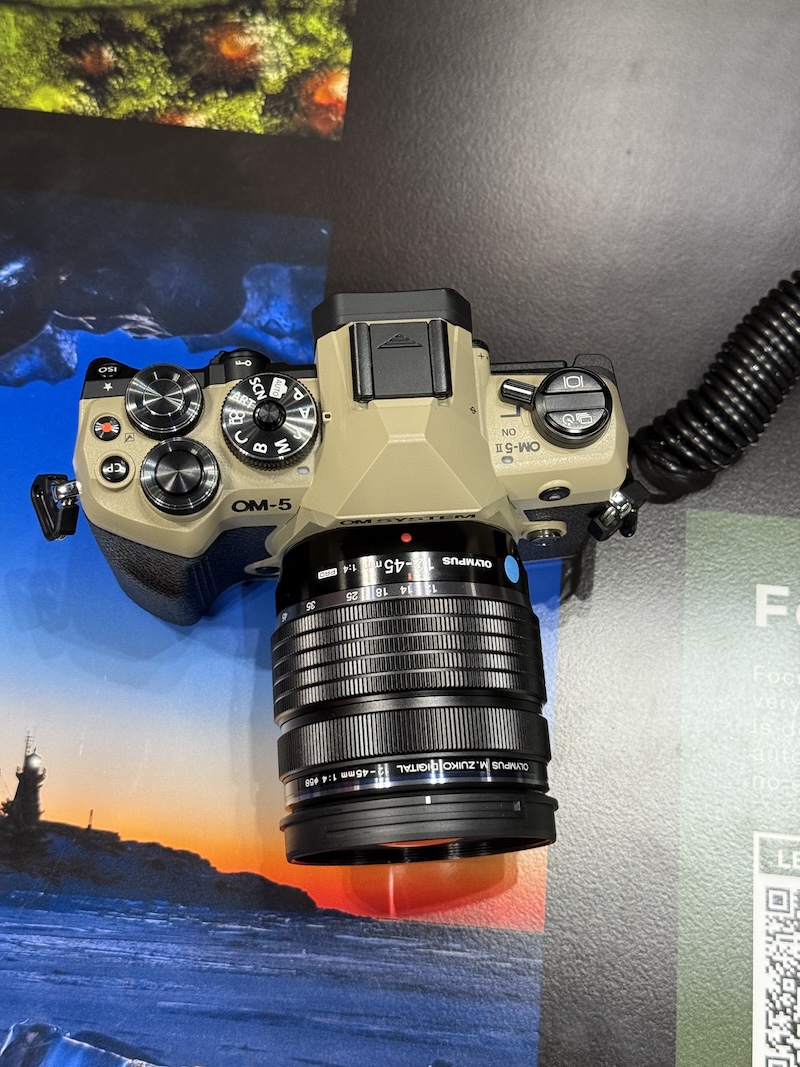
Thephoblographer reports that OM System is still considering a Pen F camera successor:
“We have the need from the market regarding the range finder style (camera) with viewfinder…it’s great feedback for us. And now we are considering what new PEN series model we can offer as OM SYSTEM. Yeah, of course, we cannot say more…but of course, we are thinking.”
This video is part of our Intro to Photography series, where we break down some of the fundamental concepts of the image-making process. You can find a written version below.
What is shutter speed?
Shutter speed, along with aperture value, is one of the fundamental properties of exposure: ie, how much light your camera gets exposed to. A faster shutter speed helps freeze action, whereas a slower one lets in more light but can result in blurred movement.
How do I choose my shutter speed?
There are two important factors to consider when choosing a shutter speed: how fast is my subject moving? And if that's not a concern, how steadily can I hold the camera?
For sports and action, you'll need a very high shutter speed. For portraits of a subject who's posing, you can get away with something much slower, but in low light, there'll be a limit to how long you can hold the camera without shaking it, even if your camera or lens has image stabilization.
Left: a photo shot at a 30-second shutter speed. Right: a photo shot at a 1/1600 shutter speed
Working at the other extreme, long exposures can give some interesting creative effects: blurring the motion of crowds or traffic, or conveying a flowing effect with water, rather than freezing its movement.
Much of the time, you're more likely to want to set your shutter speed (or let your camera set the shutter speed) in response to your choice of aperture value and the light level in your scene.
We'll be continuing this series with more discussions on the fundamentals of exposure and photography. Check back soon for links to more entries!
When you use DPReview links to buy products, the site may earn a commission.
Photo: Richard Butler
With the release of the S1II, Panasonic became the second company to market a camera with a "Partially Stacked" sensor, which uses more sophisticated readout circuits to get data off the sensor faster than possible with existing BSI designs. (Though not nearly as fast as fully Stacked designs allow.) We've had the chance to put it in front of our studio test scene to see how it performs in terms of image quality and dynamic range.
Our test scene is designed to simulate a variety of textures, colors, and detail types you'll encounter in the real world. It also has two illumination modes, full even light and low directional light, to see the effect of different lighting conditions.
Image Comparison
This widget is not optimized for RSS feed readers. Click here to open it in a new browser window / tab.
The S1II performs well at shooting our test scene, providing great image quality. Looking at base ISO Raws, the S1II captures similar levels of detail as the other 24MP full-frame cameras on the market*, though Panasonic's JPEG engine doesn't seem to get rid of quite as much moiré artefacting as Nikon or Canon's.
Speaking of that JPEG engine, we've been pleased with Panasonic's colors for a while now, and the S1II is no exception; like the rest of its competition and the company's previous cameras, its colors are solid.
At mid ISOs to high ISOs the S1II's noise levels are competitive. Its JPEG engine does an admirable job of reducing noise while still retaining detail.
* The S1II's price puts it in competition with much slower, but higher-resolution cameras like the Sony a7CR and Panasonic's own S1RII; if you care more about image quality than speed, that's worth noting.
Dynamic Range
The S1II provides a good amount of dynamic range, giving you room to pull your shadows up without the detail being overwhelmed by noise. However, given the lack of chroma noise visible in our tests, it seems like there may be some noise reduction going on, either in ACR or in-camera. Either way, there's plenty to be squeezed out of the files, with no nasty surprises, though you will see the effects of a little extra read noise if you're shooting at base ISO to maximize dynamic range.
This is still a relatively new sensor, but it seems like Panasonic is getting a lot out of it. The S1II's image quality is very similar to other 24MP full-frame cameras with much slower burst rates and less capable video specs. Speaking of, be sure to stay tuned: tomorrow we'll be taking a look at video stills from the S1II.
When you use DPReview links to buy products, the site may earn a commission.
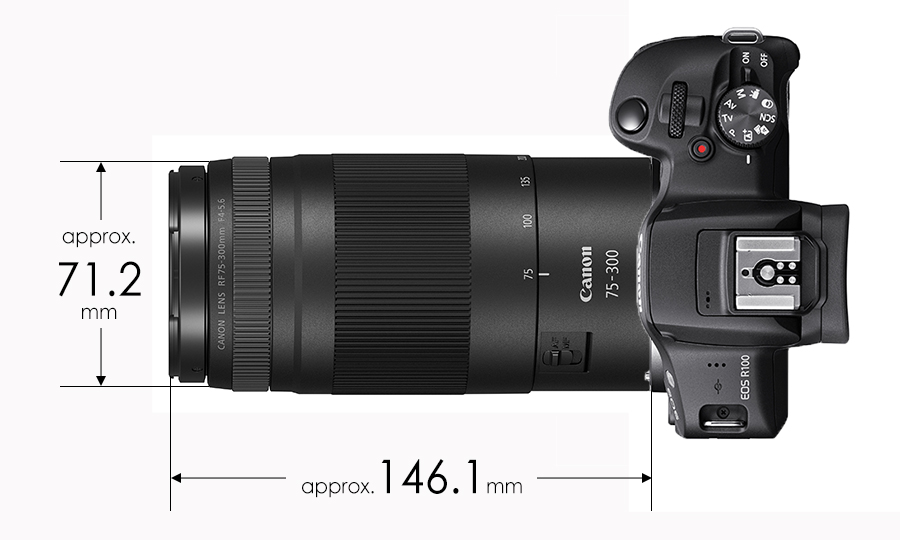
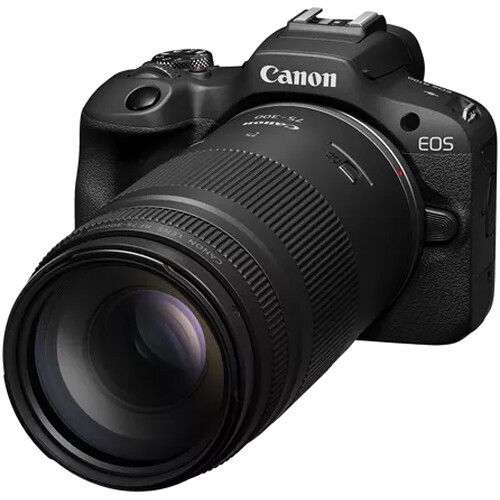
Image: Canon
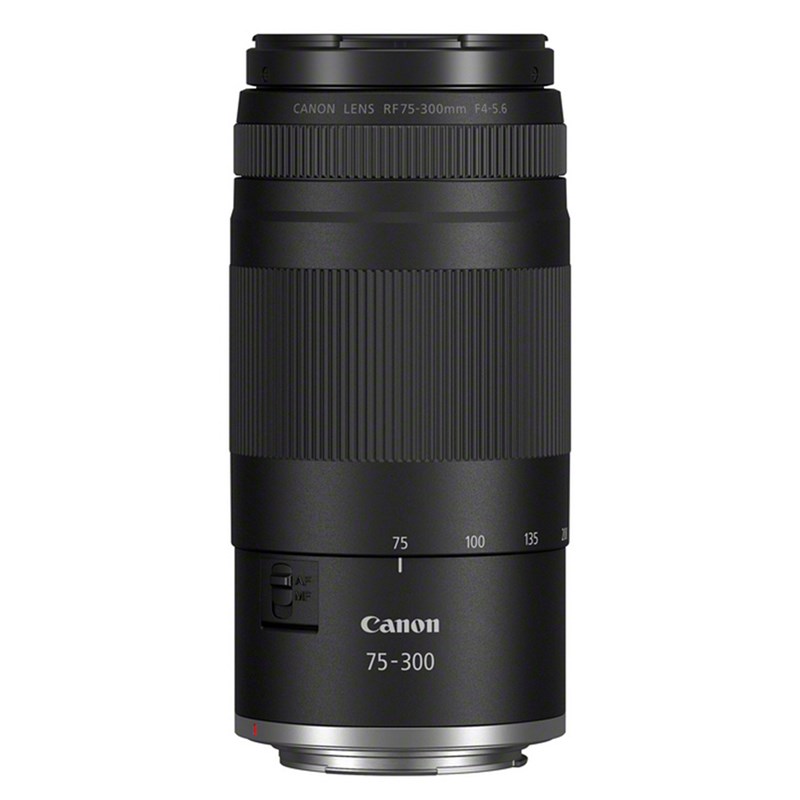
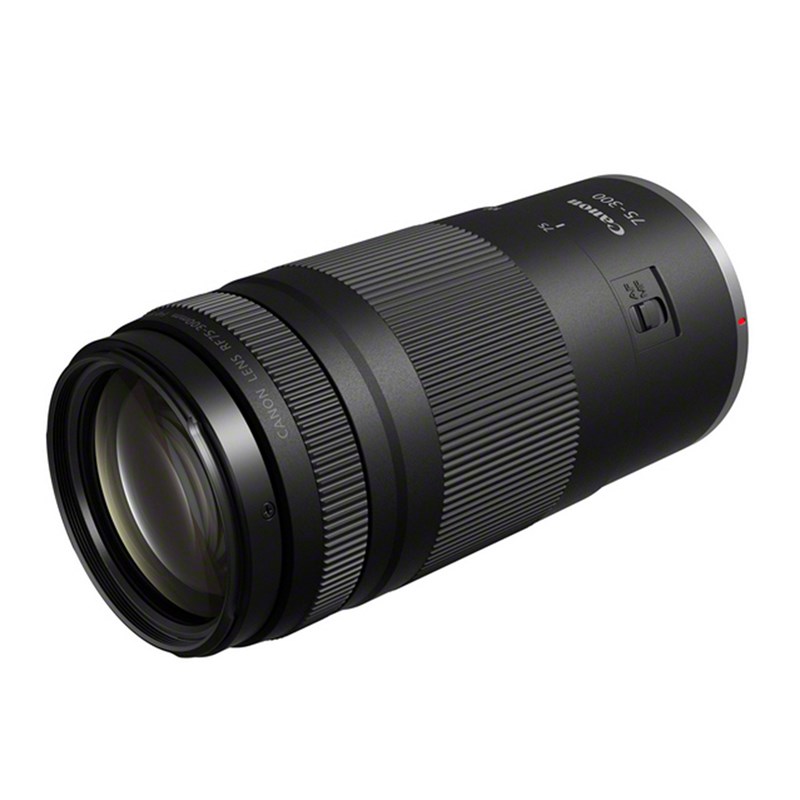
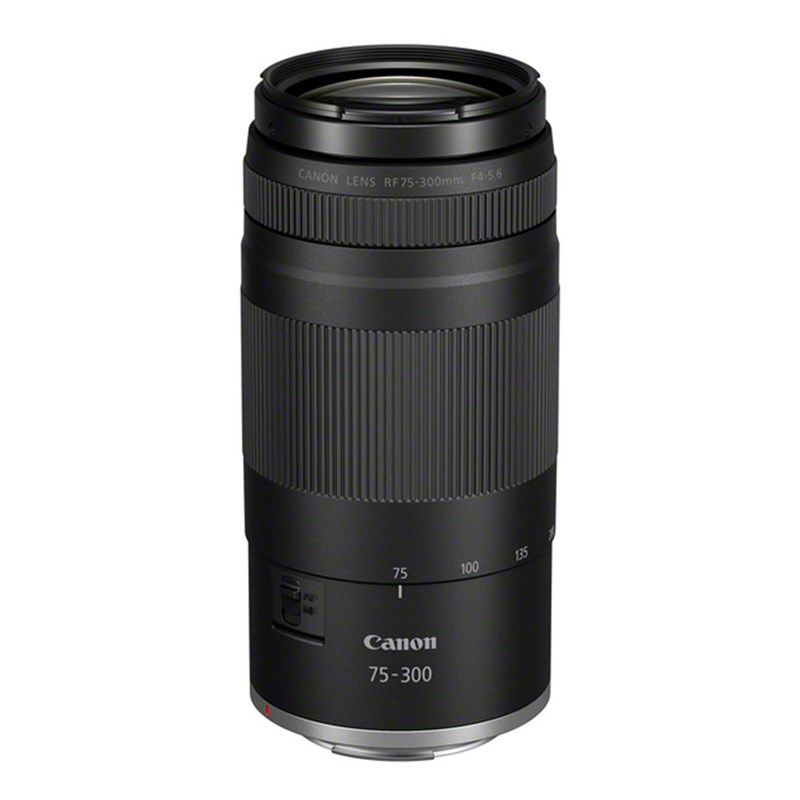
Canon has finally announced US availability and pricing details for the RF 75-300mm F4.0-5.6, a budget full-frame lens that it introduced earlier this year. When it initially launched in April, the company shared details about its global launch, but made no mention of the US market, potentially because it was waiting to see how tariffs would shake out.
The lens will cost $219 on its own, and will also be available as part of a "Double Zoom Lens Kit" for the EOS R100, which will include the camera, the RF 75-300mm, the RF-S 18-45mm F4.5-6.3 and a camera bag for $799. Both will be available sometime this month.
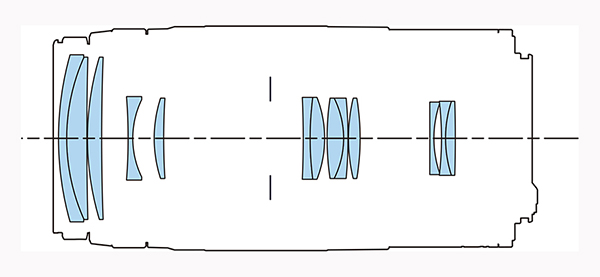
While the lens is technically new, it's essentially the same as the 26-year-old EF 75-300mm F4.0-5.6 III, just with a new mount. That lens has never been renowned for its image quality, but it does offer a lot of reach at a very accessible price.
Speaking of price, it appears that US tariffs haven't made a huge impact on this lens; the EF version has been sold at $199 since well before the tariffs, and the RF version's higher price could just as easily be chalked up to the new housing as the cost to import it.
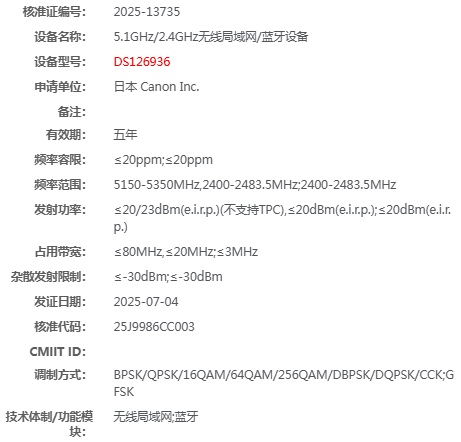
Canon registered a new camera in Asia under the code DS126936. The wireless specifications of the new model are not as good as those of the EOS R1/EOS R5 II, but are consistent with those of the EOS R50V and EOS R8 cameras - maybe the registration is for the rumored Canon EOS R6 Mark III or Canon EOS R7 Mark II?
Here is the updated list of Canon camera models:
DS126922: EOS R5 II (Dual-band Wi-Fi 6 & Bluetooth)
Samsung has announced its latest folding smartphones, the Galaxy Z Fold 7 and Galaxy Z Flip 7. Both have improvements over their predecessors, but the higher-end Z Fold has one that's especially exciting for people who like taking pictures: it adopts the main camera from the company's flagship S25 Ultra, which it says will capture "4x more detail" and produce "44% brighter" images than the camera in the previous Z Fold.
Galaxy Z Fold 7
Compared to more traditional smartphones, foldables often compromise on camera performance because of space constraints; each half of the phone is usually substantially thinner than the typical candybar phone.
That's especially true for the Z Fold 7, which has slimmed down substantially compared to its predecessor: it's now 8.9mm thick when closed, compared to 12.1mm, and weighs 215g instead of 239g. Theoretically, this should make it more comfortable to use the front "cover" screen, as it'll be closer to the experience of using a non-folding phone. That display has also gotten an upgrade: it's 6.5" instead of 6.3", and slightly higher resolution.
The Z Fold 7 has three rear cameras, and two selfie cameras. Image: Samsung
Despite the phone's thinness, the main camera has gotten some big improvements. The Z Fold 6 used the cameras from Samsung's mid-range S24+ flagship, which meant it's main camera was a 50MP Type 1/1.56 (50mm²) sensor behind an F1.8 lens. The Z Fold 7, meanwhile, gets the 200MP Type 1/1.3 (72mm²) sensor and F1.7 lens from Samsung's top-tier standard smartphone.
That means that, at least for the camera you're using most, you're not compromising by picking Samsung's foldable instead of its standard smartphone. That's good news for those who like big screens; the S25+ is no slouch with a 6.9" display, but that doesn't quite match the Z Fold 7's new 8" interior screen, which offers even more real estate than the 7.6" one found on its predecessor.
Of course, there are still trade-offs. For one, Samsung seems to have solved the space problem by just making the camera bump massive; YouTube reviewer MKBHD shows that the phone can't even come close to sitting flat on a table thanks to the protrusion. The phone's ultra-wide camera is also a downgrade compared to what you'd find on the S25 Ultra, and the Z Fold 7 doesn't have a "periscope" camera for even more zoom.
Galaxy Z Fold 7
Galaxy S25 Ultra
Galaxy Z Fold 6
Main camera
200MP Type 1/1.3 (72mm²) F1.7
200MP Type 1/1.3 (72mm²) F1.7
50MP Type 1/1.56 (50mm²) F1.8
Ultra-wide camera
12MP Type 1/2.5 (25mm²) F2.2
50MP Type 1/2.5 (25mm²) F1.9
12MP Type 1/3.2 (15mm²) F2.2
Telephoto camera
10MP Type 1/3.94 (10mm²) F2.4
10MP Type 1/3.52 (12.5mm²) F2.4
10MP Type 1/3.94 (10mm²) F2.4
Periscope camera
N/A
50MP Type 1/2.52 (25mm²) F3.4
N/A
Of course, cameras aren't the only thing Samsung changed this generation. The company says the Z Fold 7 has a thinner and lighter hinge, more durable glass for the cover display and a more powerful SOC with improvements to the tune of 38% in CPU and 26% in GPU compared to its predecessor. The selfie camera on the main screen is also now higher resolution, and provides a wider field of view.
Of course, none of this comes cheap. While the Z Fold series has always broken the bank, the latest iteration now starts at $1999 for a model with 256GB of storage, $100 more than its predecessor. You can pre-order it now, and it'll be available on July 25th.
Z Flip 7
Image: Samsung
The changes to Samsung's smaller, less expensive Z Flip phone are a bit more subtle. The main cameras – a wide 50MP Type 1/1.57 (50mm²) and ultra-wide 12MP Type 1/3.2 (15mm²) – are unchanged from its predecessor, and it's actually a gram heavier. However, for that minuscule increase in weight, you get a bigger battery and a much larger cover screen; 4.1" versus 3.4".
That front screen now basically runs edge-to-edge on the phone's front cover, and should be more responsive as it has a 120hz refresh rate, where the old one topped out at 60hz. It's also much brighter, peaking at 2600 nits instead of 1600.
The interior display is also a touch bigger at 6.9" versus 6.7". However, the biggest change is even deeper inside the phone: it now uses a Samsung-designed Exynos SOC, rather than a Qualcomm Snapdragon one. Historically, some Exynos-equipped models haven't performed as well compared to their Snapdragon counterparts, so it'll be interesting to see how the phone performs once reviewers get their hands on it.
Unlike the Z Fold, the Z Flip is the same price as its predecessor, starting at $1,099 for a 256GB model. It will also be available starting on July 25th.
When you use DPReview links to buy products, the site may earn a commission.
Photo: Mitchell Clark
We've put the Nikon Z5II through our studio scene as part of our upcoming review. And it's fair to say it doesn't present any major surprises. But we thought it's worth stepping back a bit to acknowledge what we perhaps risk taking for granted.
The Nikon Z5II is the company's entry-level full-frame mirrorless camera. Its launch price of $1699, body only, means it's not quite as inexpensive as the original Z5, but there are still only four full-frame digital cameras that have been launched for a lower price, so it's not uncompetitive.
But, whereas the original Z5 used a relatively elderly sensor to differentiate it from the higher-end Z6 II, the Z5II uses the same sensor as the more expensive Zf. And, while it's not the newest chip on the block, it's still being introduced in new models from Sigma and Panasonic, so shouldn't be considered unacceptably out-of-date.
Studio test scene
Image Comparison
This widget is not optimized for RSS feed readers. Click here to open it in a new browser window / tab.
The test scene throws up no surprises at all: detail capture is consistent with other 24MP full-frame cameras, as is noise performance at high ISO. Default JPEG color is the usual Nikon response: on the punchy side of accurate, which is a result a lot of people like.
JPEG sharpening pulls out a lot of fine detail, though false color isn't as well suppressed as in the Canon's files. Noise reduction smoothes away a little more detail than its peers, but overall, the results are very solid.
This is a well-known sensor, so the results aren't surprising, but until recently, you had to spend a fair amount more than this to get the same combination of IQ, handling and autofocus performance.
takasuu / iStock / Getty Images Plus via Getty Images
US President Donald Trump has signaled his intent to move forward with new tariffs that will go into effect on August 1st, impacting imports from several countries. As reported by the Associated Press, Trump announced the tariffs by posting copies of letters addressed to leaders of several countries, including Japan and Thailand – where many camera and lens manufacturers build products – on social media.
According to the letters, imports from Japan to the US will face tariffs of 25% and imports from Thailand will face tariffs of 36%.
The new tariffs aren't entirely unexpected. The Trump administration initially announced tariffs aimed at numerous countries back on April 2nd, including 24% on Japanese goods and 36% on imports from Thailand. However, it subsequently placed a 90-day pause on full tariff amounts on April 9th, setting a universal baseline tariff of 10%.
On Monday, US President Donald Trump posted copies of letters to leaders of several countries to Truth Social announcing new tariffs to go into effect on August 1st, including this letter to Japanese Prime Minister Ishiba Shigeru.
As a result, US consumers have experienced increased prices on some camera products, with companies like Sigma, Canon, Nikon and Sony raising prices accordingly over the past few months.
The new August 1st deadline effectively adds three additional weeks to the 90-day pause announced in April, though given the unpredictability we've seen until now, it's possible that things could change again before the new tariffs go into effect. If not, US consumers could experience additional price hikes on many photography products due to the additional tariffs.
It's important to note that not all cameras and lenses are produced in these countries. Many companies have moved a significant portion of manufacturing to other Asian countries in recent years, including China, which is experiencing its own trade conflict with the US. Notably, Tamron began operating a new factory in Vietnam in February. Last week, the Trump administration announced a new trade deal to charge 20% tariffs on imports from that country, less than the 46% tariffs originally announced in April.
Amazon Prime Day is officially underway through July 11, and with it comes discounts of all sorts. Those sales include a selection of cameras and lenses, so if you're looking to upgrade your kit, pick up a new camera or expand your lens selection, now is a good time to do so.
Unfortunately, most camera brands recently increased prices in the US because of tariffs, and, as a result, many of the Prime Day deals are just a dip back to pre-tariff pricing. But that's still better than nothing, and it would be smart to buy now before prices go back up. Additionally, if there were better deals on other websites, we've linked to those instead. We'll also be updating this throughout the week, so be sure to check back to see what's new.
Sony cameras and lenses
Sony has the most gear on sale this Prime Day. This isn't an exhaustive list, with many additional models on sale. All of the camera and lens deals are also live on Sony's website, so you can check them out there, too. Some of the items below are older generation models, but they are still worth picking up in our opinion.
Nikon also has very limited items on sale right now, unfortunately. But we've done some digging to find out what deals there are. Like the other brands, most of these prices are simply back to pre-tariff prices, though.
If you're looking to document your adventures this summer, an action camera may be the way to go. Luckily, some of the best out there are on sale during Prime Day.